
How to create custom tables
The custom tables are useful for the user to get the inputs required of a user in the tabular form.
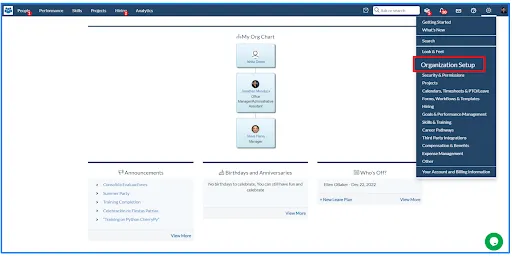
1. Go to gear Icon, select ‘Organization Setup’ and choose ‘Custom Tables’.
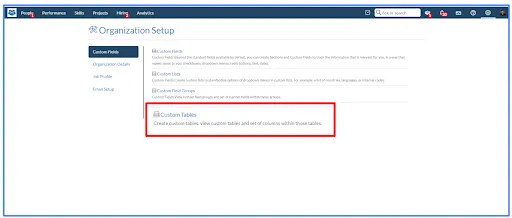
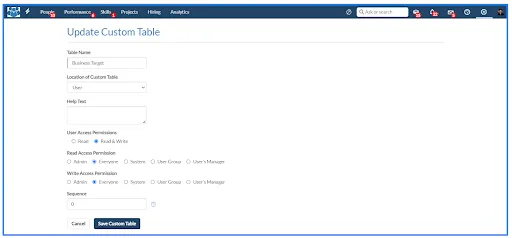
2. Click on the ‘New CustomTable’ button to create a new custom table.

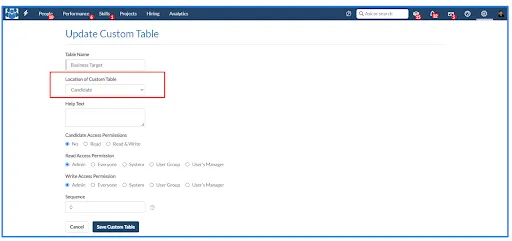
3. Give the name and location of the custom table.

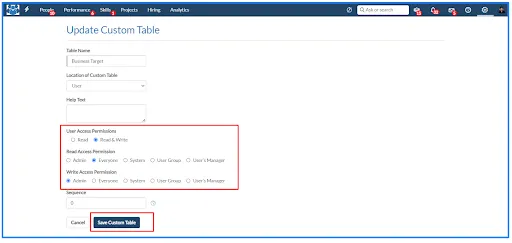
4. If the location is selected as ‘User’, the custom table will be created on the employee record page.


5. If the location is selected as ‘Candidate’, the custom table will be created on the candidate view page.

6. Configure the read and write permissions of the custom table and Click on the ‘Save’ button to save the changes.
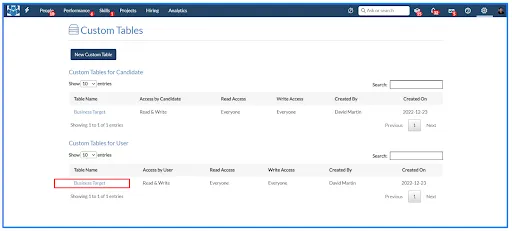
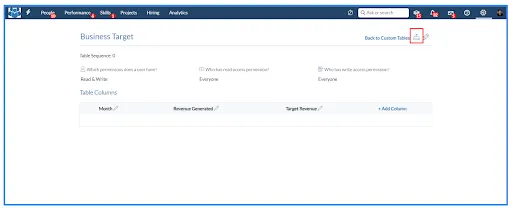
7. Select the custom table created on the custom table home page and click on ‘Add Columns’ to add different columns in the custom table.

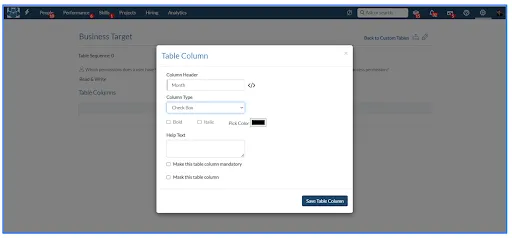
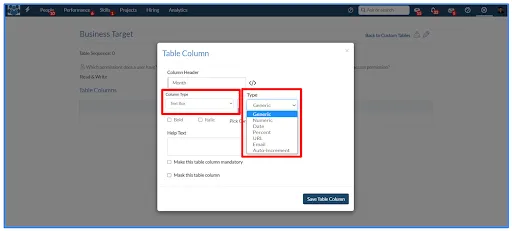
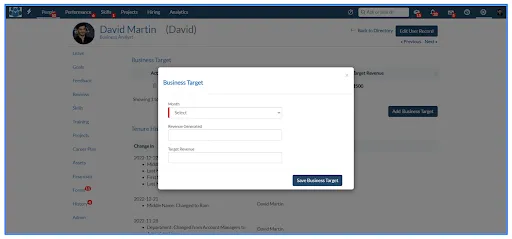
8. Users can create various types of columns in the table.

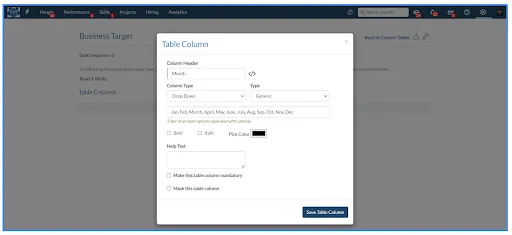
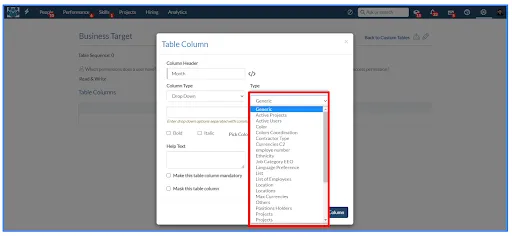
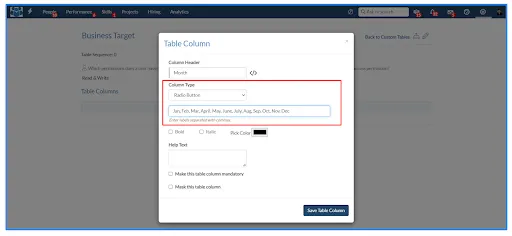
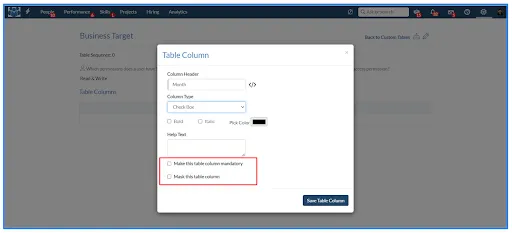
9. Select the type of column whether it will be mandatory or not.
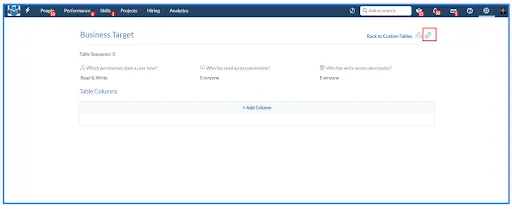
10. Users can edit the custom table by clicking on the edit icon on the custom table view page.
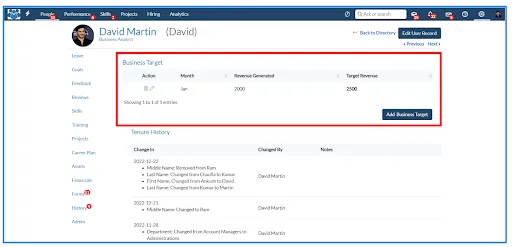
11. The custom table will be created on the defined location.
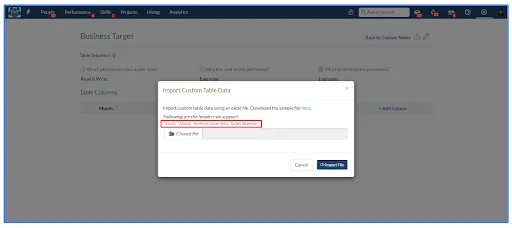
12. Users can import data from multiple users through an excel sheet by clicking on the import icon.


.webp)
