
Autoscan Expense Receipt
You can add the items in the “Expense Report” by autoscanning the expense receipt by following the below steps:
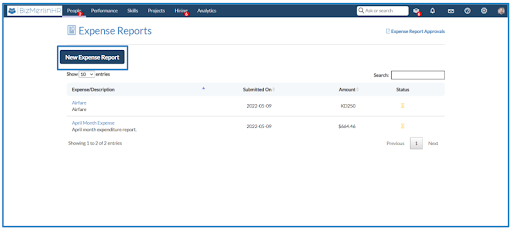
1. Go to the “People” module and click on the “Expense Reports” section.

2. You can add a new expense report by clicking on the “New Expense Report”.
3. Fill in the required details on the “Expense Report Details” page and click on “Save and Continue”.

4. To add a new expense item through auto-scan click on the “Autoscan Expense Receipt”.
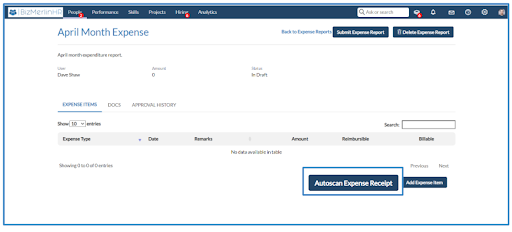
5. Choose the file which you want to upload, and it should be in png, jpeg, pdf, and tiff formats then select the currency and click on the “Scan Receipt”.

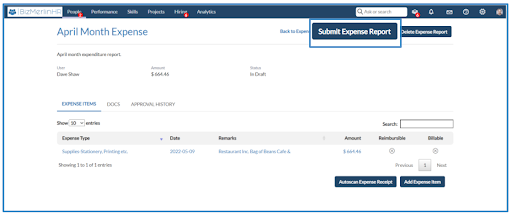
6. Click on the “Submit Expense Report” to submit the expense report.


.png)
