Approval/Rejection in Forms
Approval and Rejection functionality in forms allows you to steer the progression of your form. Whether choosing to move forward with approval or indicating a rejection, this feature empowers you with a decisive role in directing the flow of your process. It provides a crucial means to influence and manage the overall process, enhancing adaptability, flexibility, and control.
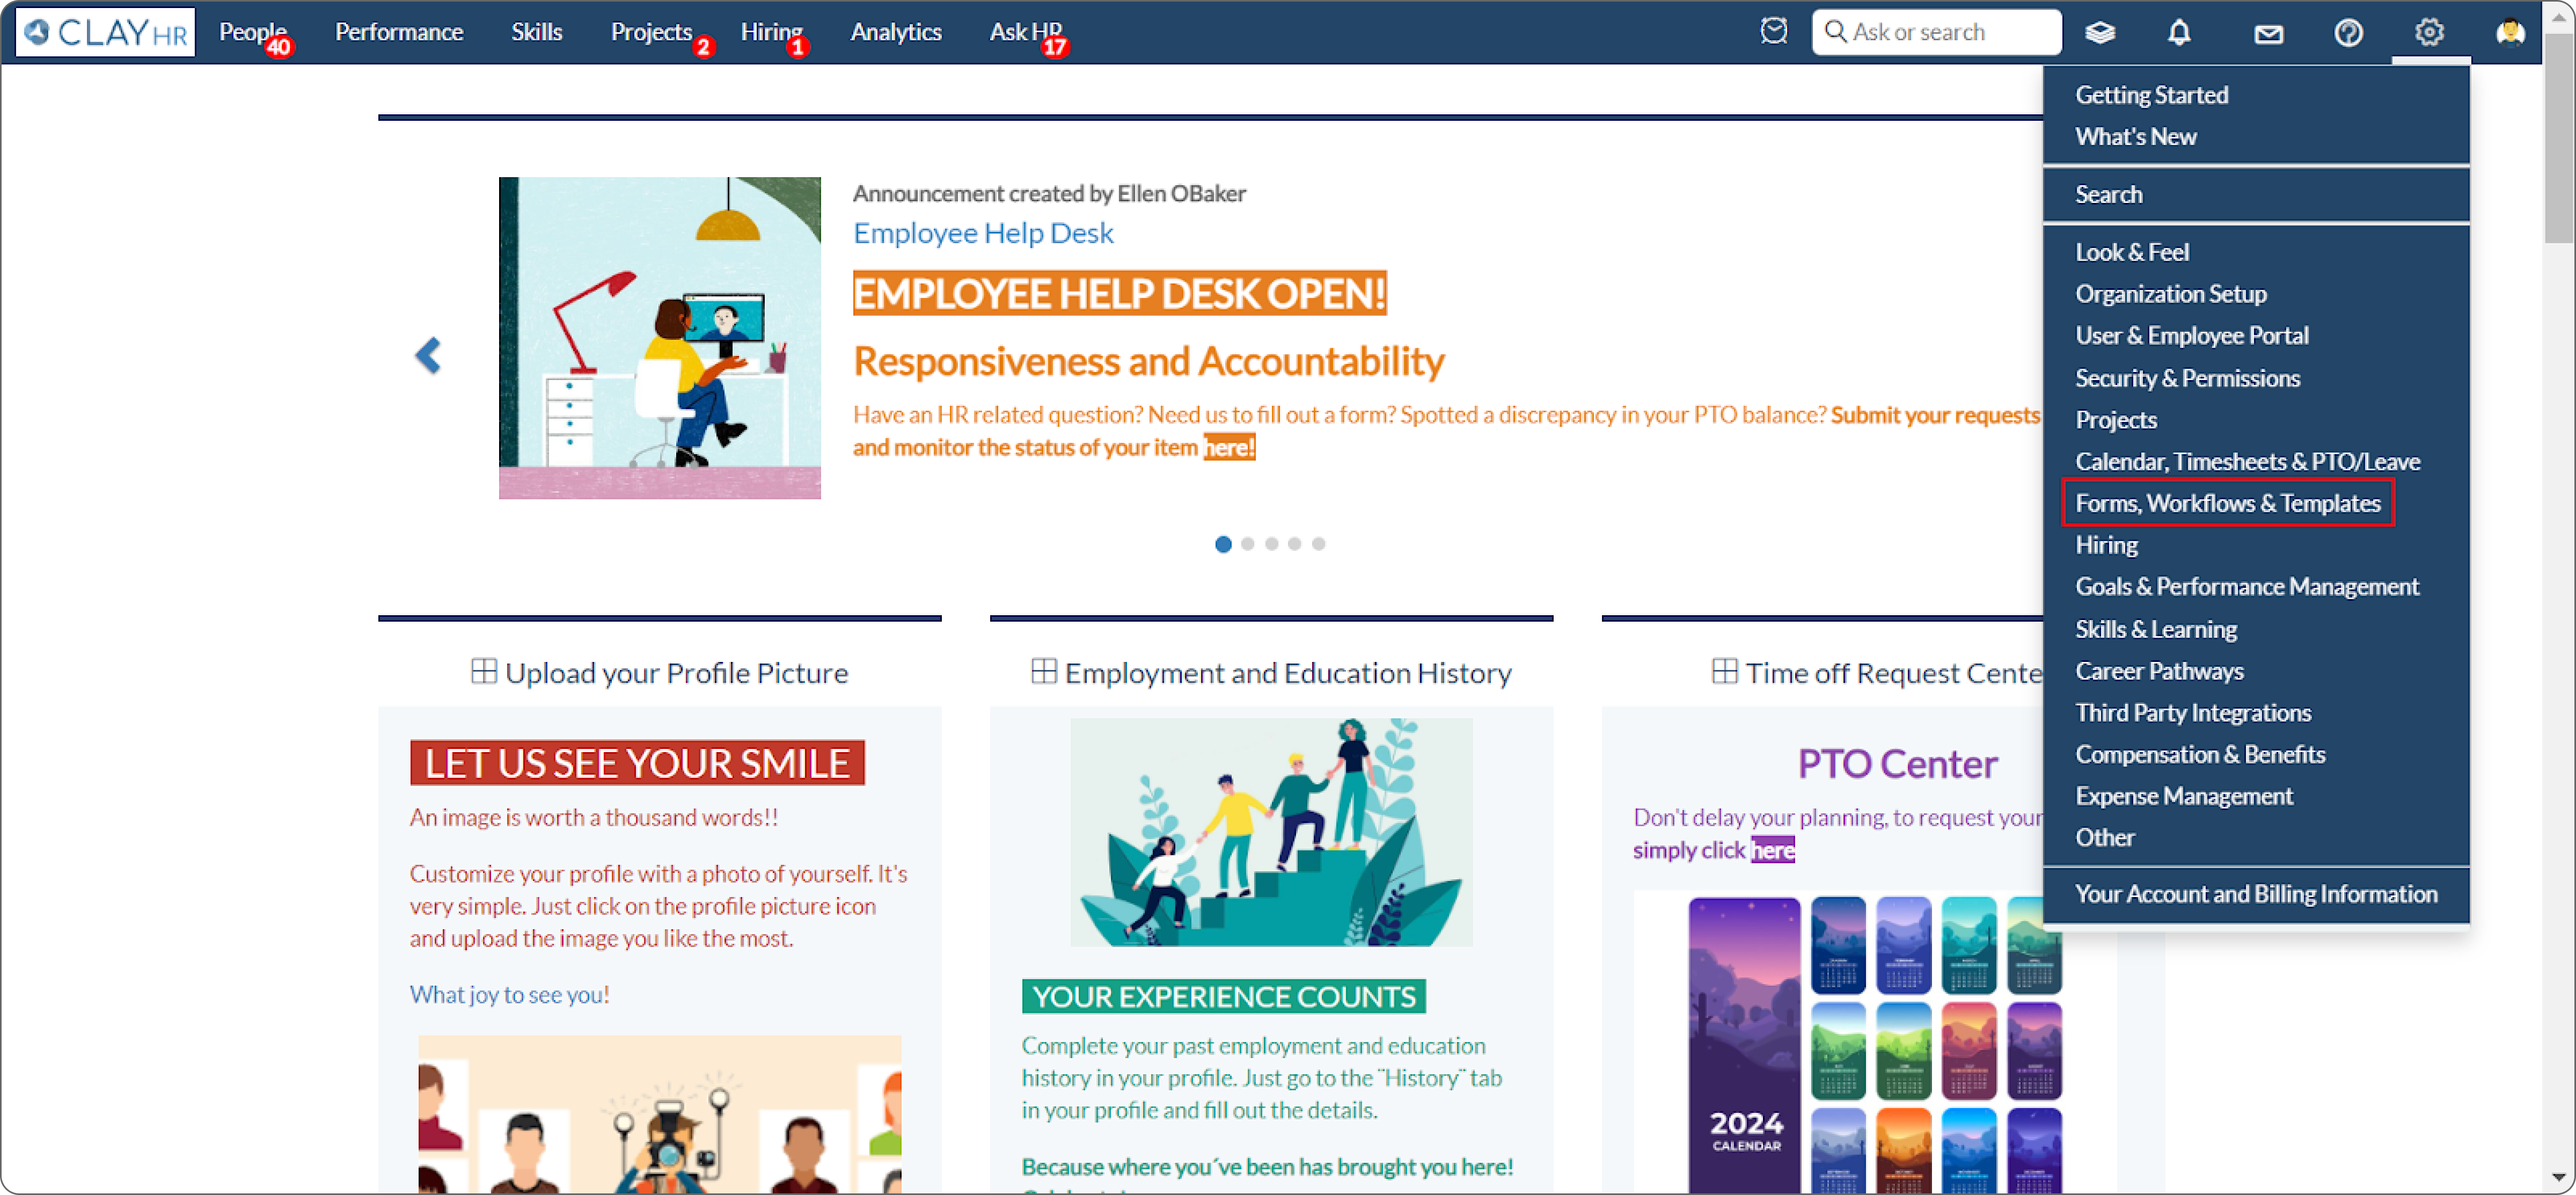
- Navigate to the gear icon, select “Forms, Workflows & Templates”, and then choose “Forms”.
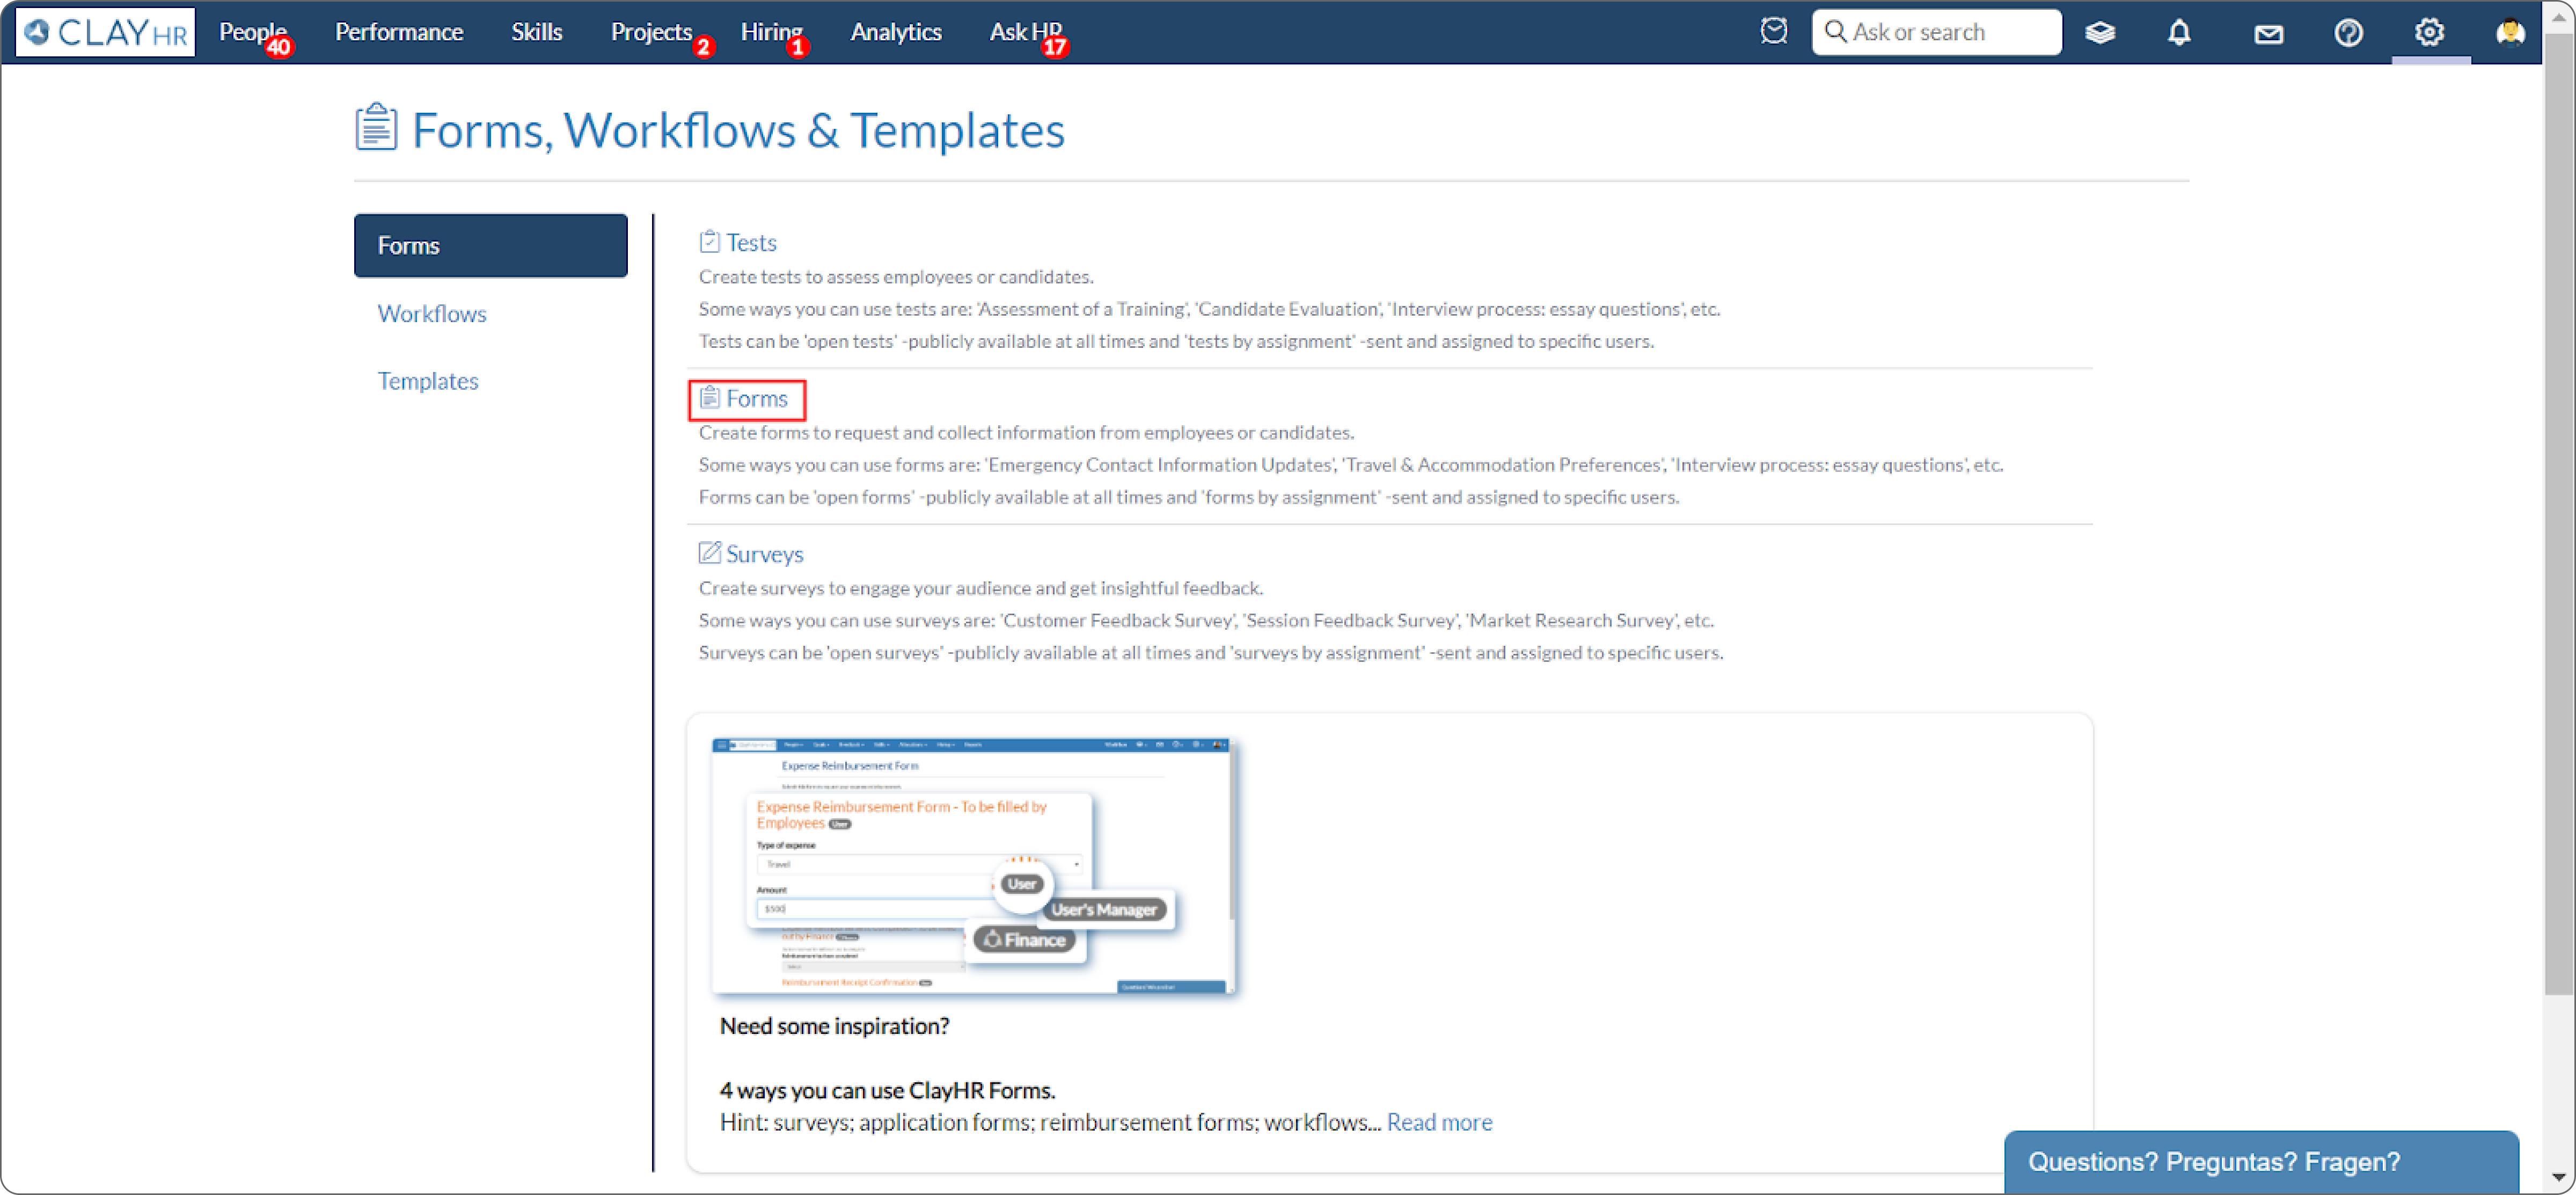
- Create a new form by clicking on “New Forms’’ on the forms home page.

- After clicking on “New Forms”, the user will be redirected to the forms view page and can fill in all the details according to the requirements.

- Add a section in the form by clicking on “Add Section”.

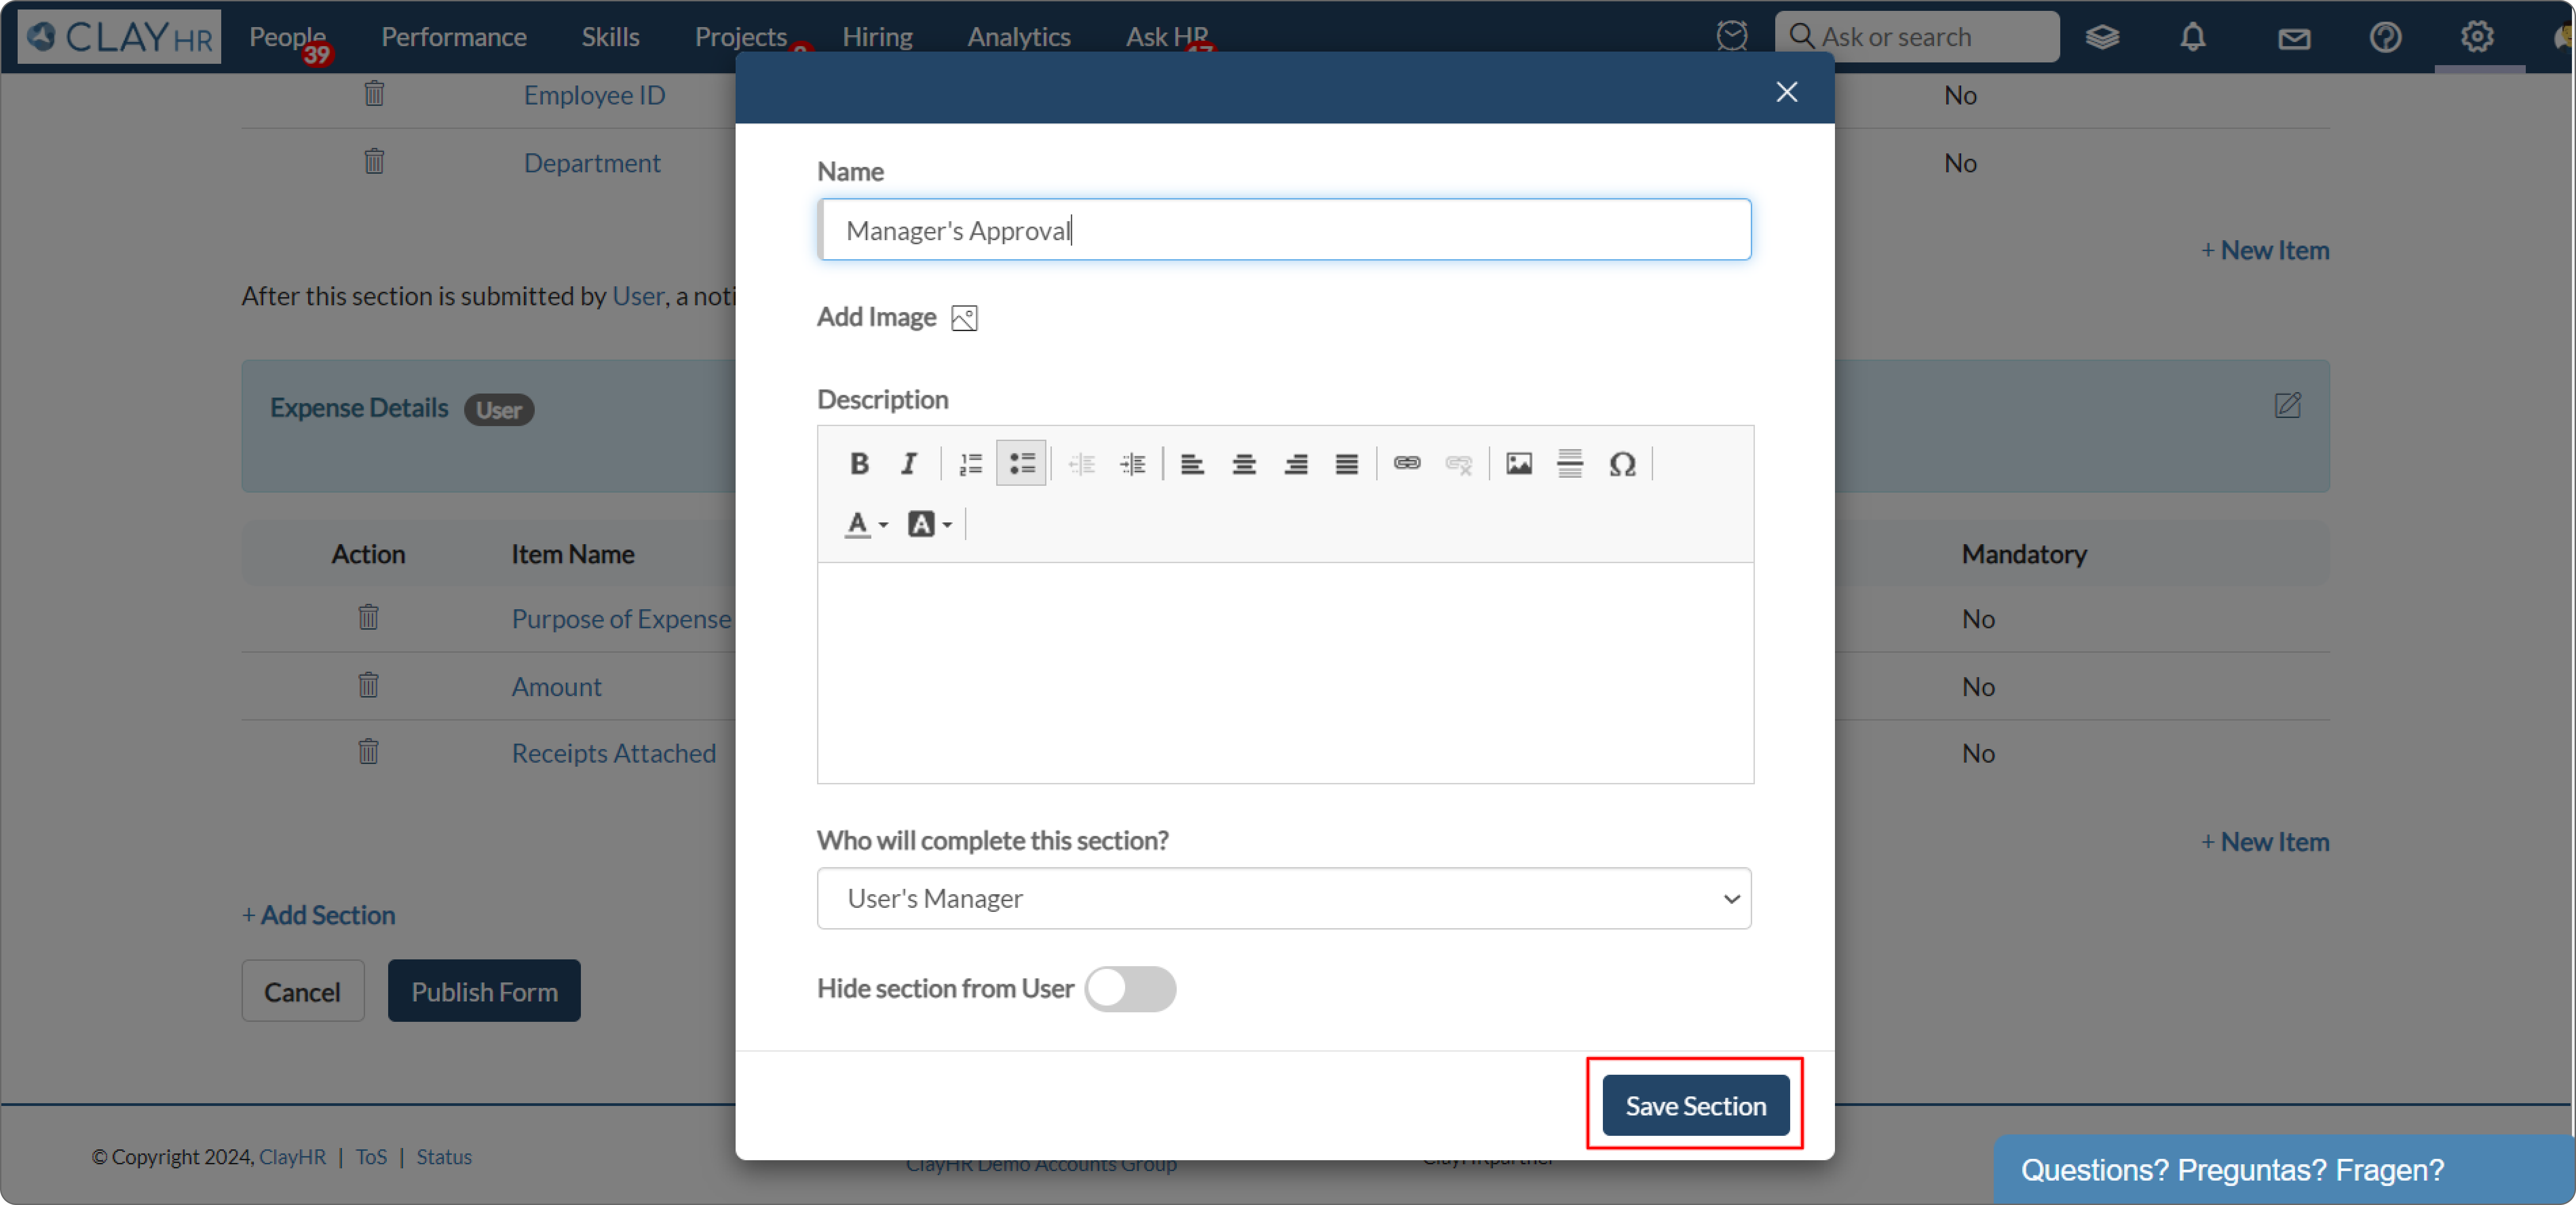
- After that, a popup window will appear. Fill in the mandatory fields and click on “Save Section”.
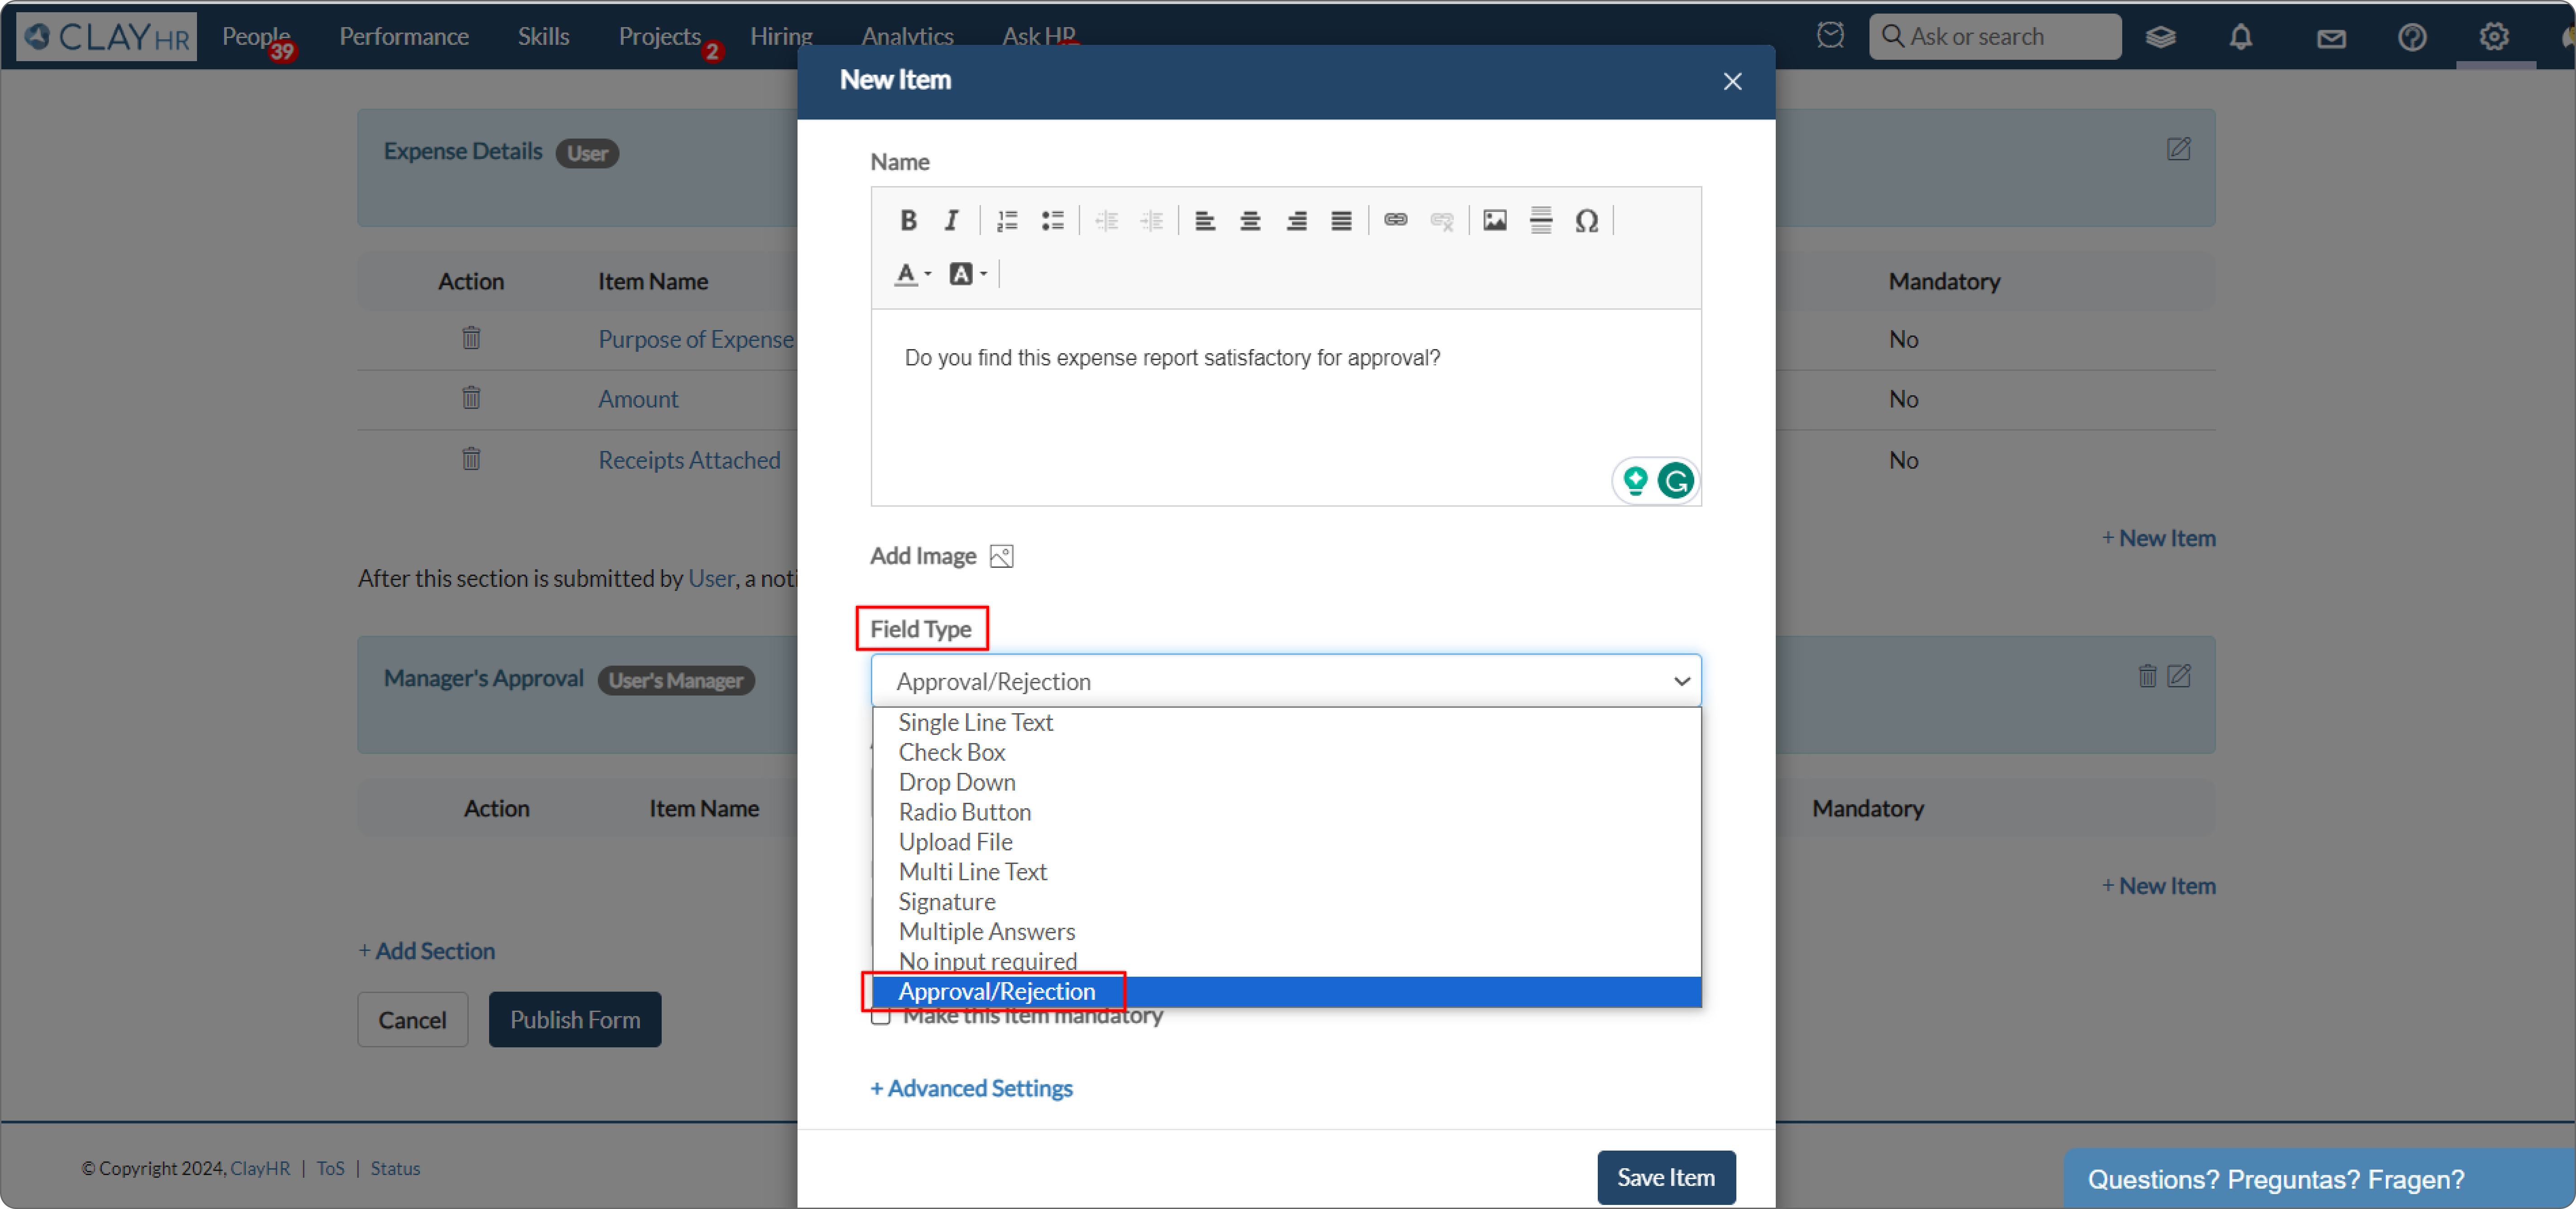
- After adding a section, add a field by clicking on “New Item”.

- In the popup window, enter the item name and select the “Approval/Rejection” option under Field Type.
- After selecting the Approval/Rejection Field Type, choose between two options available in “Approval flow of form”.

- If you choose the option "Stop the approval flow after the form is rejected" and the form gets rejected, then the entire form will be rejected, and subsequent sections will not be sent for completion.
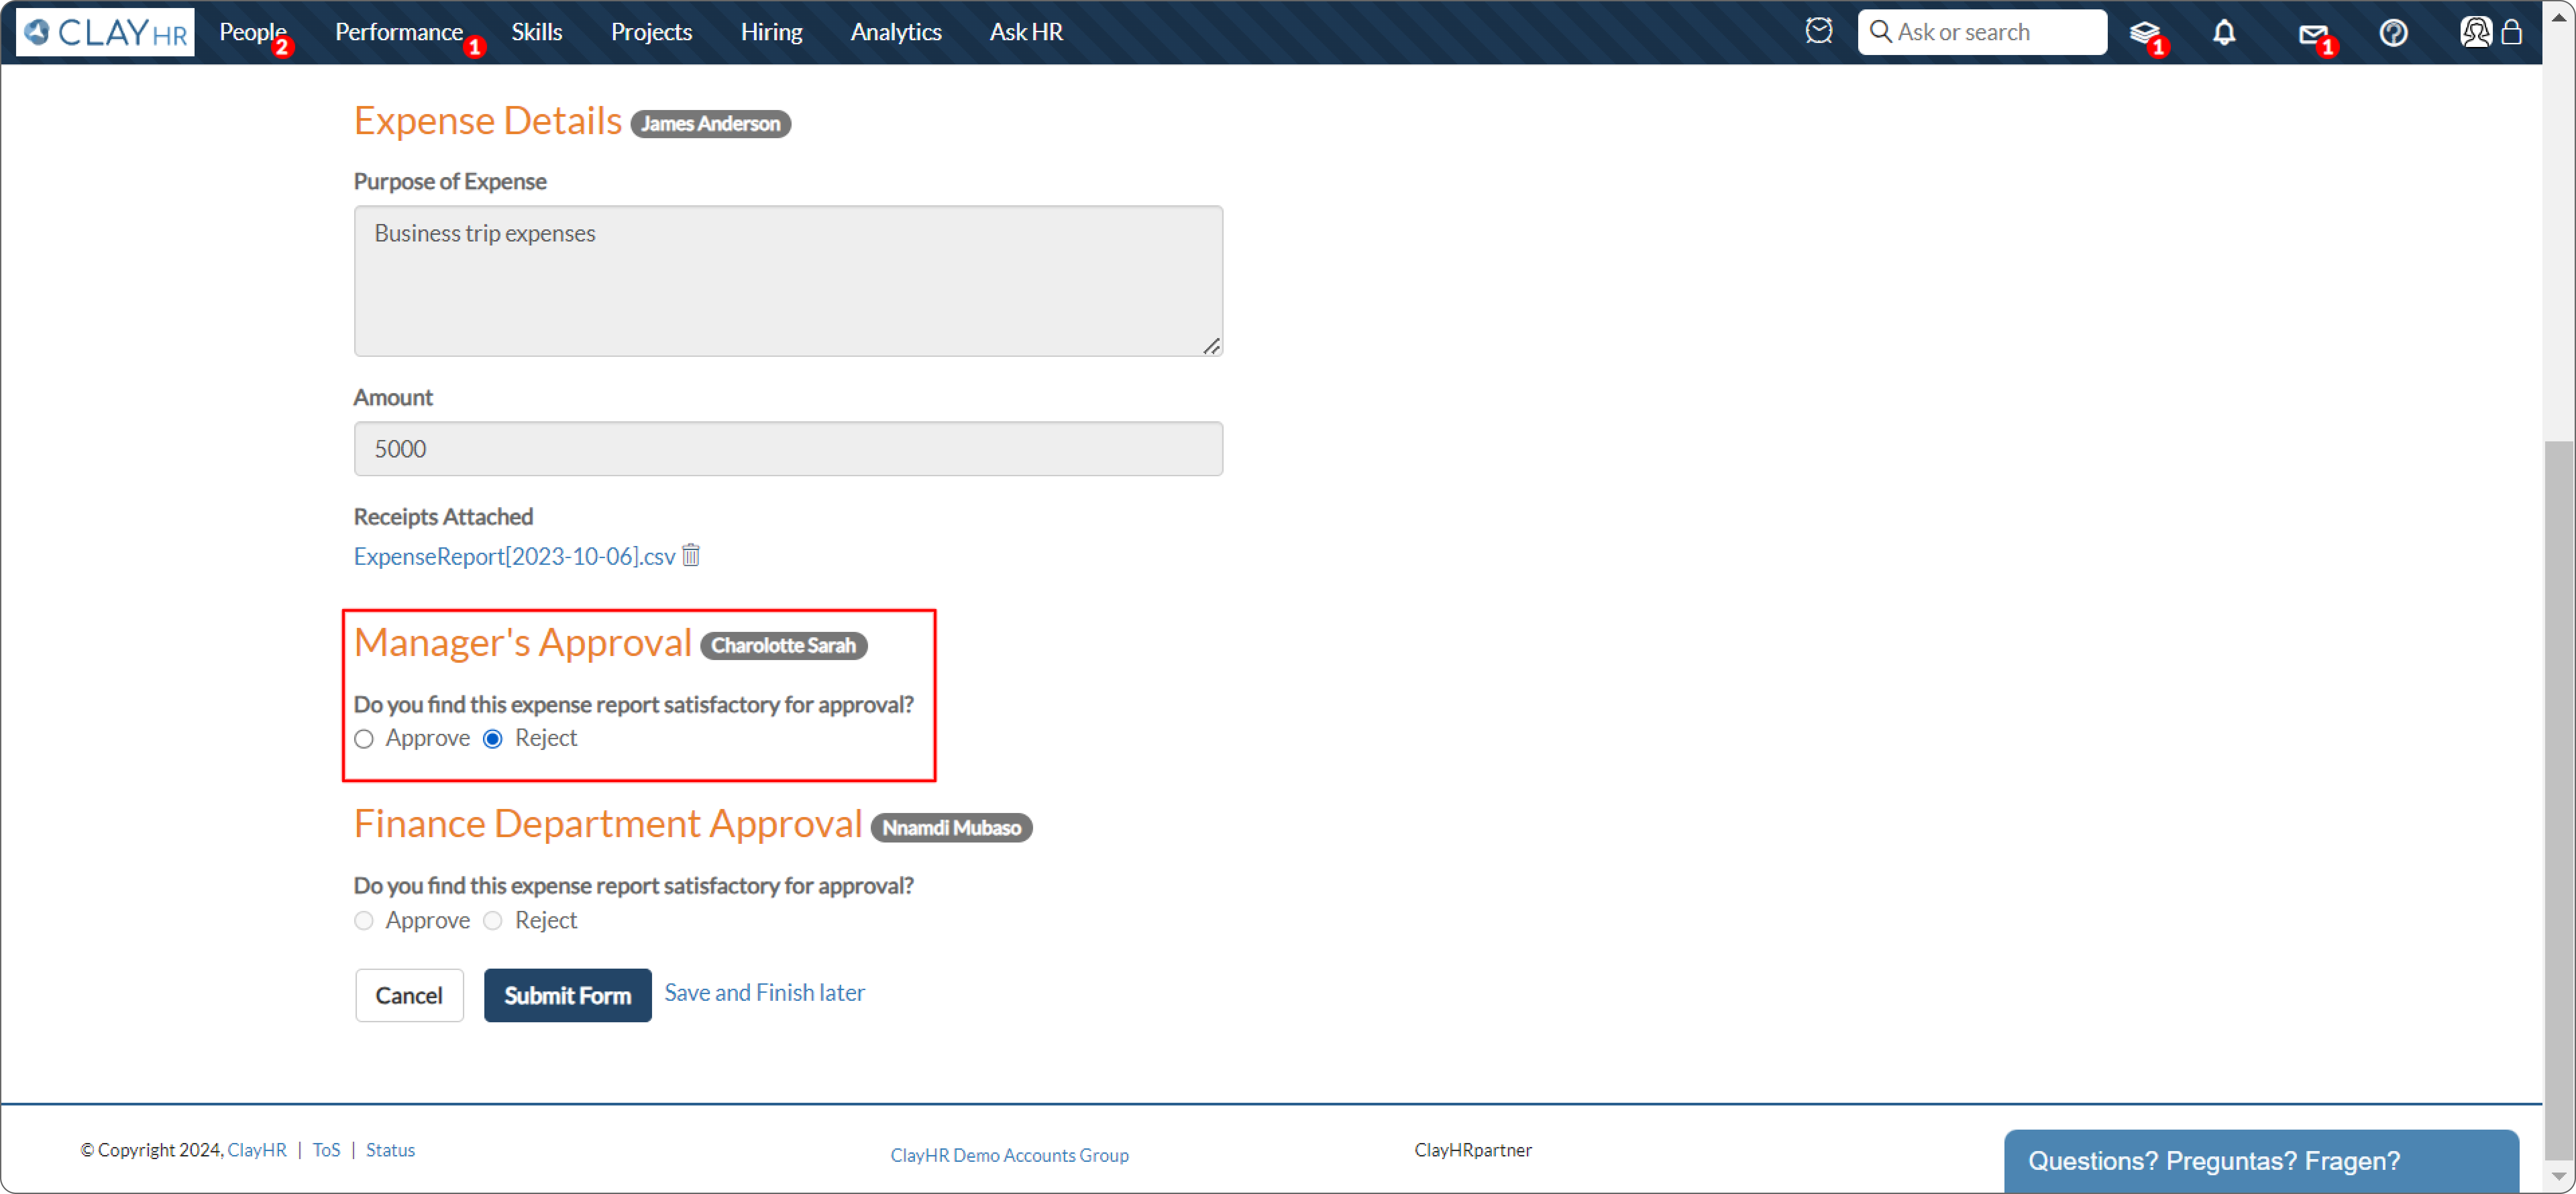
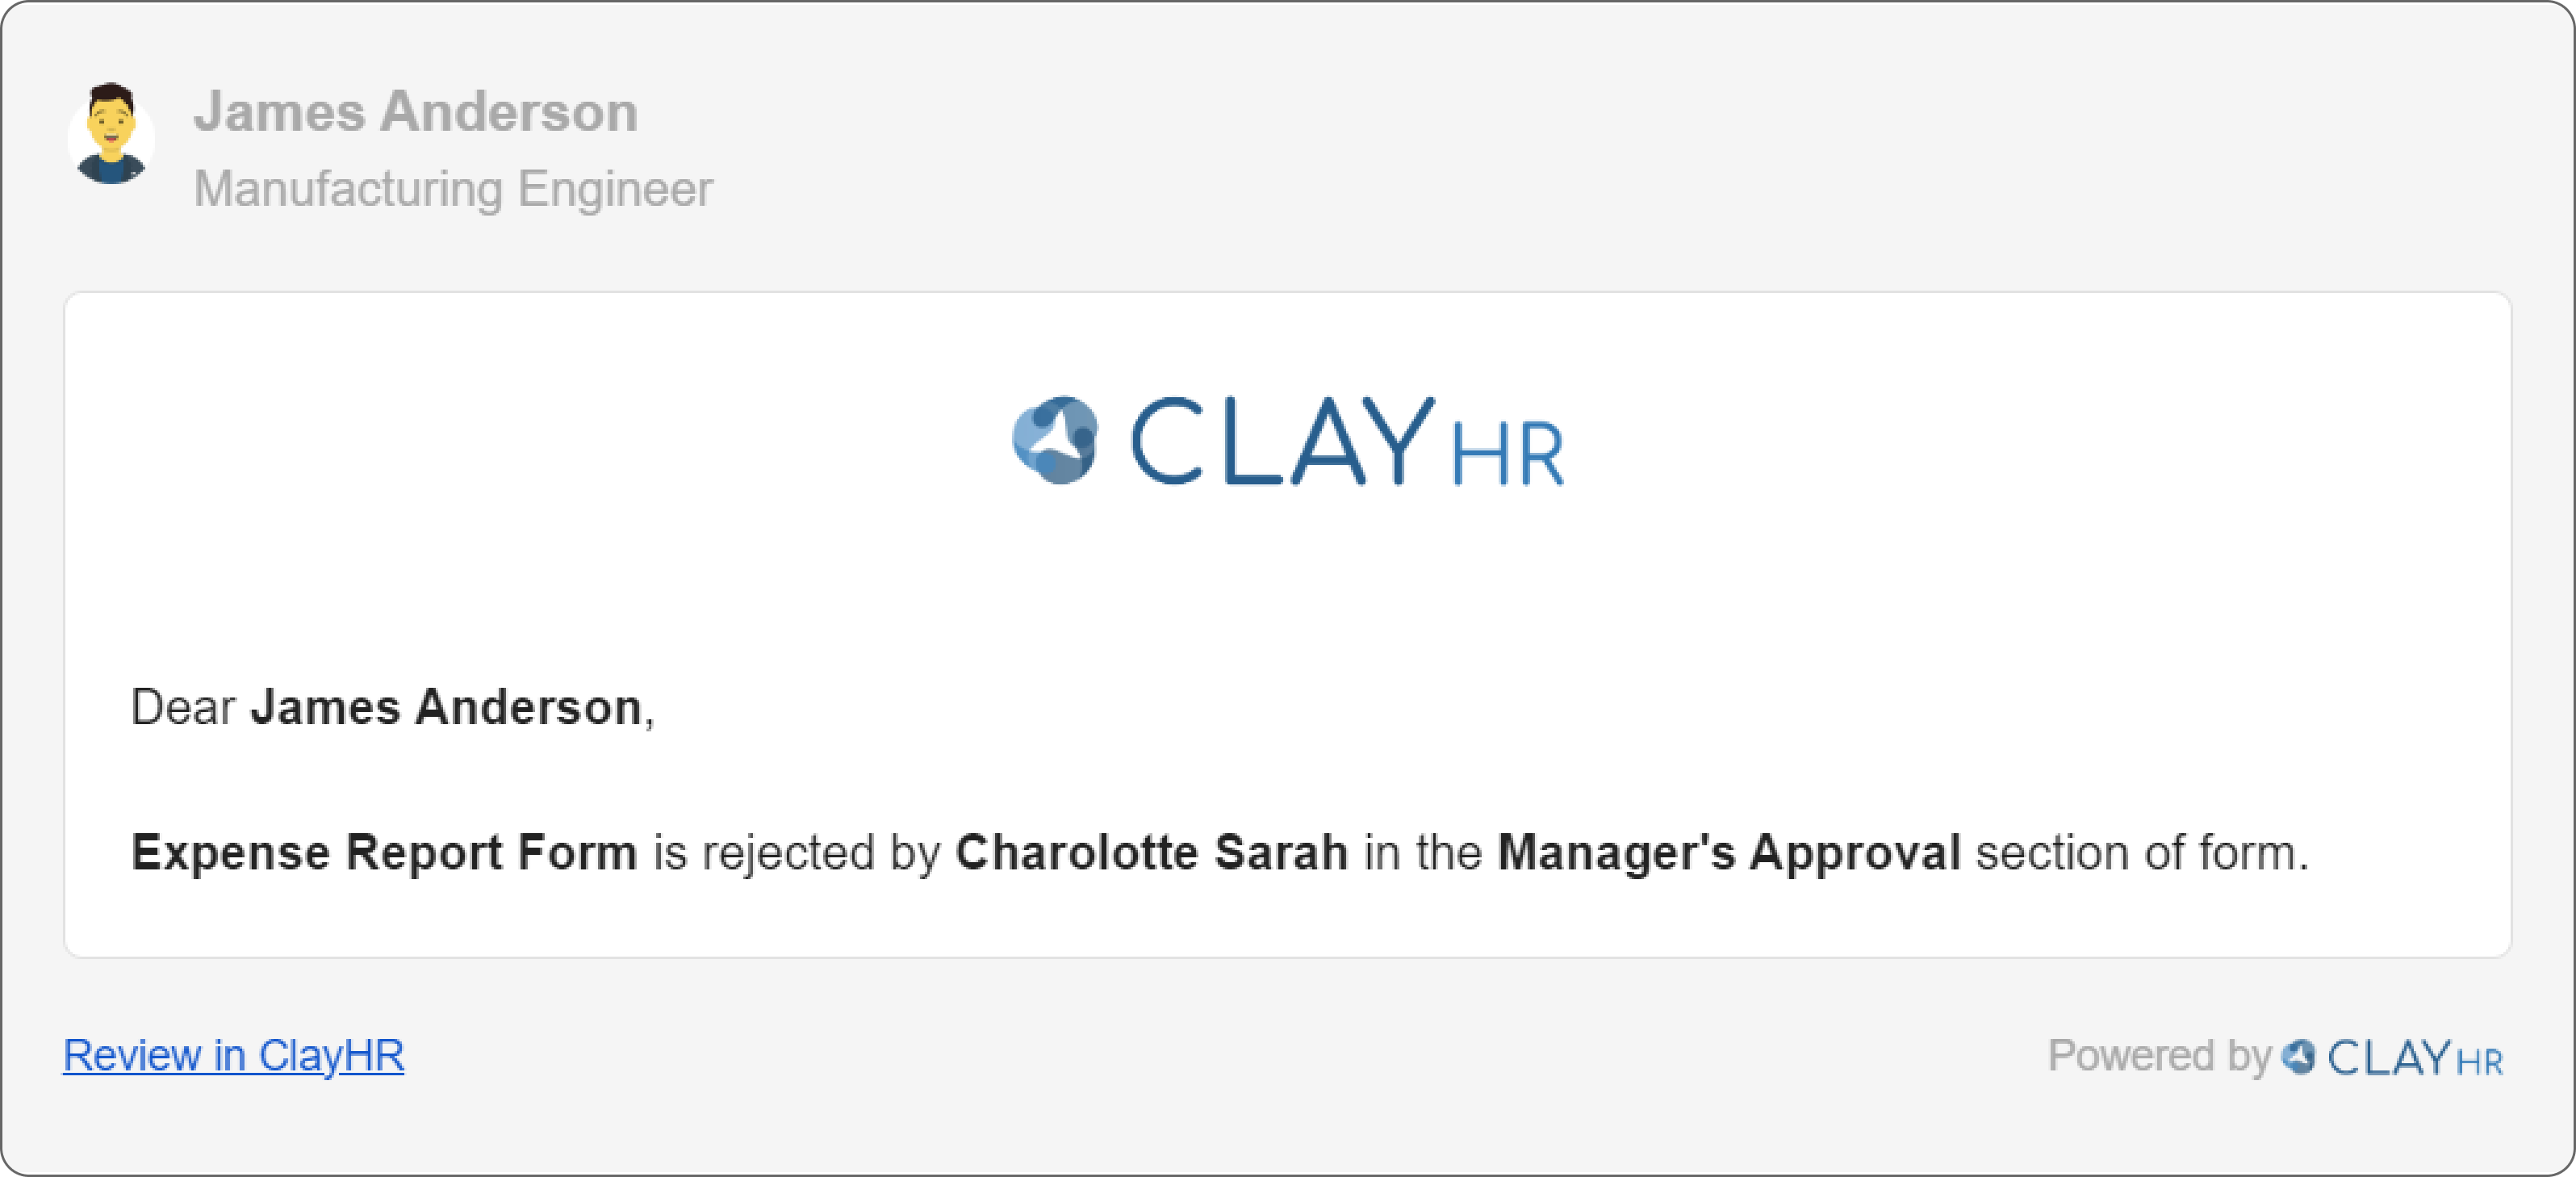
- Upon rejecting the form, an email notification will be sent to the user regarding the form rejection.
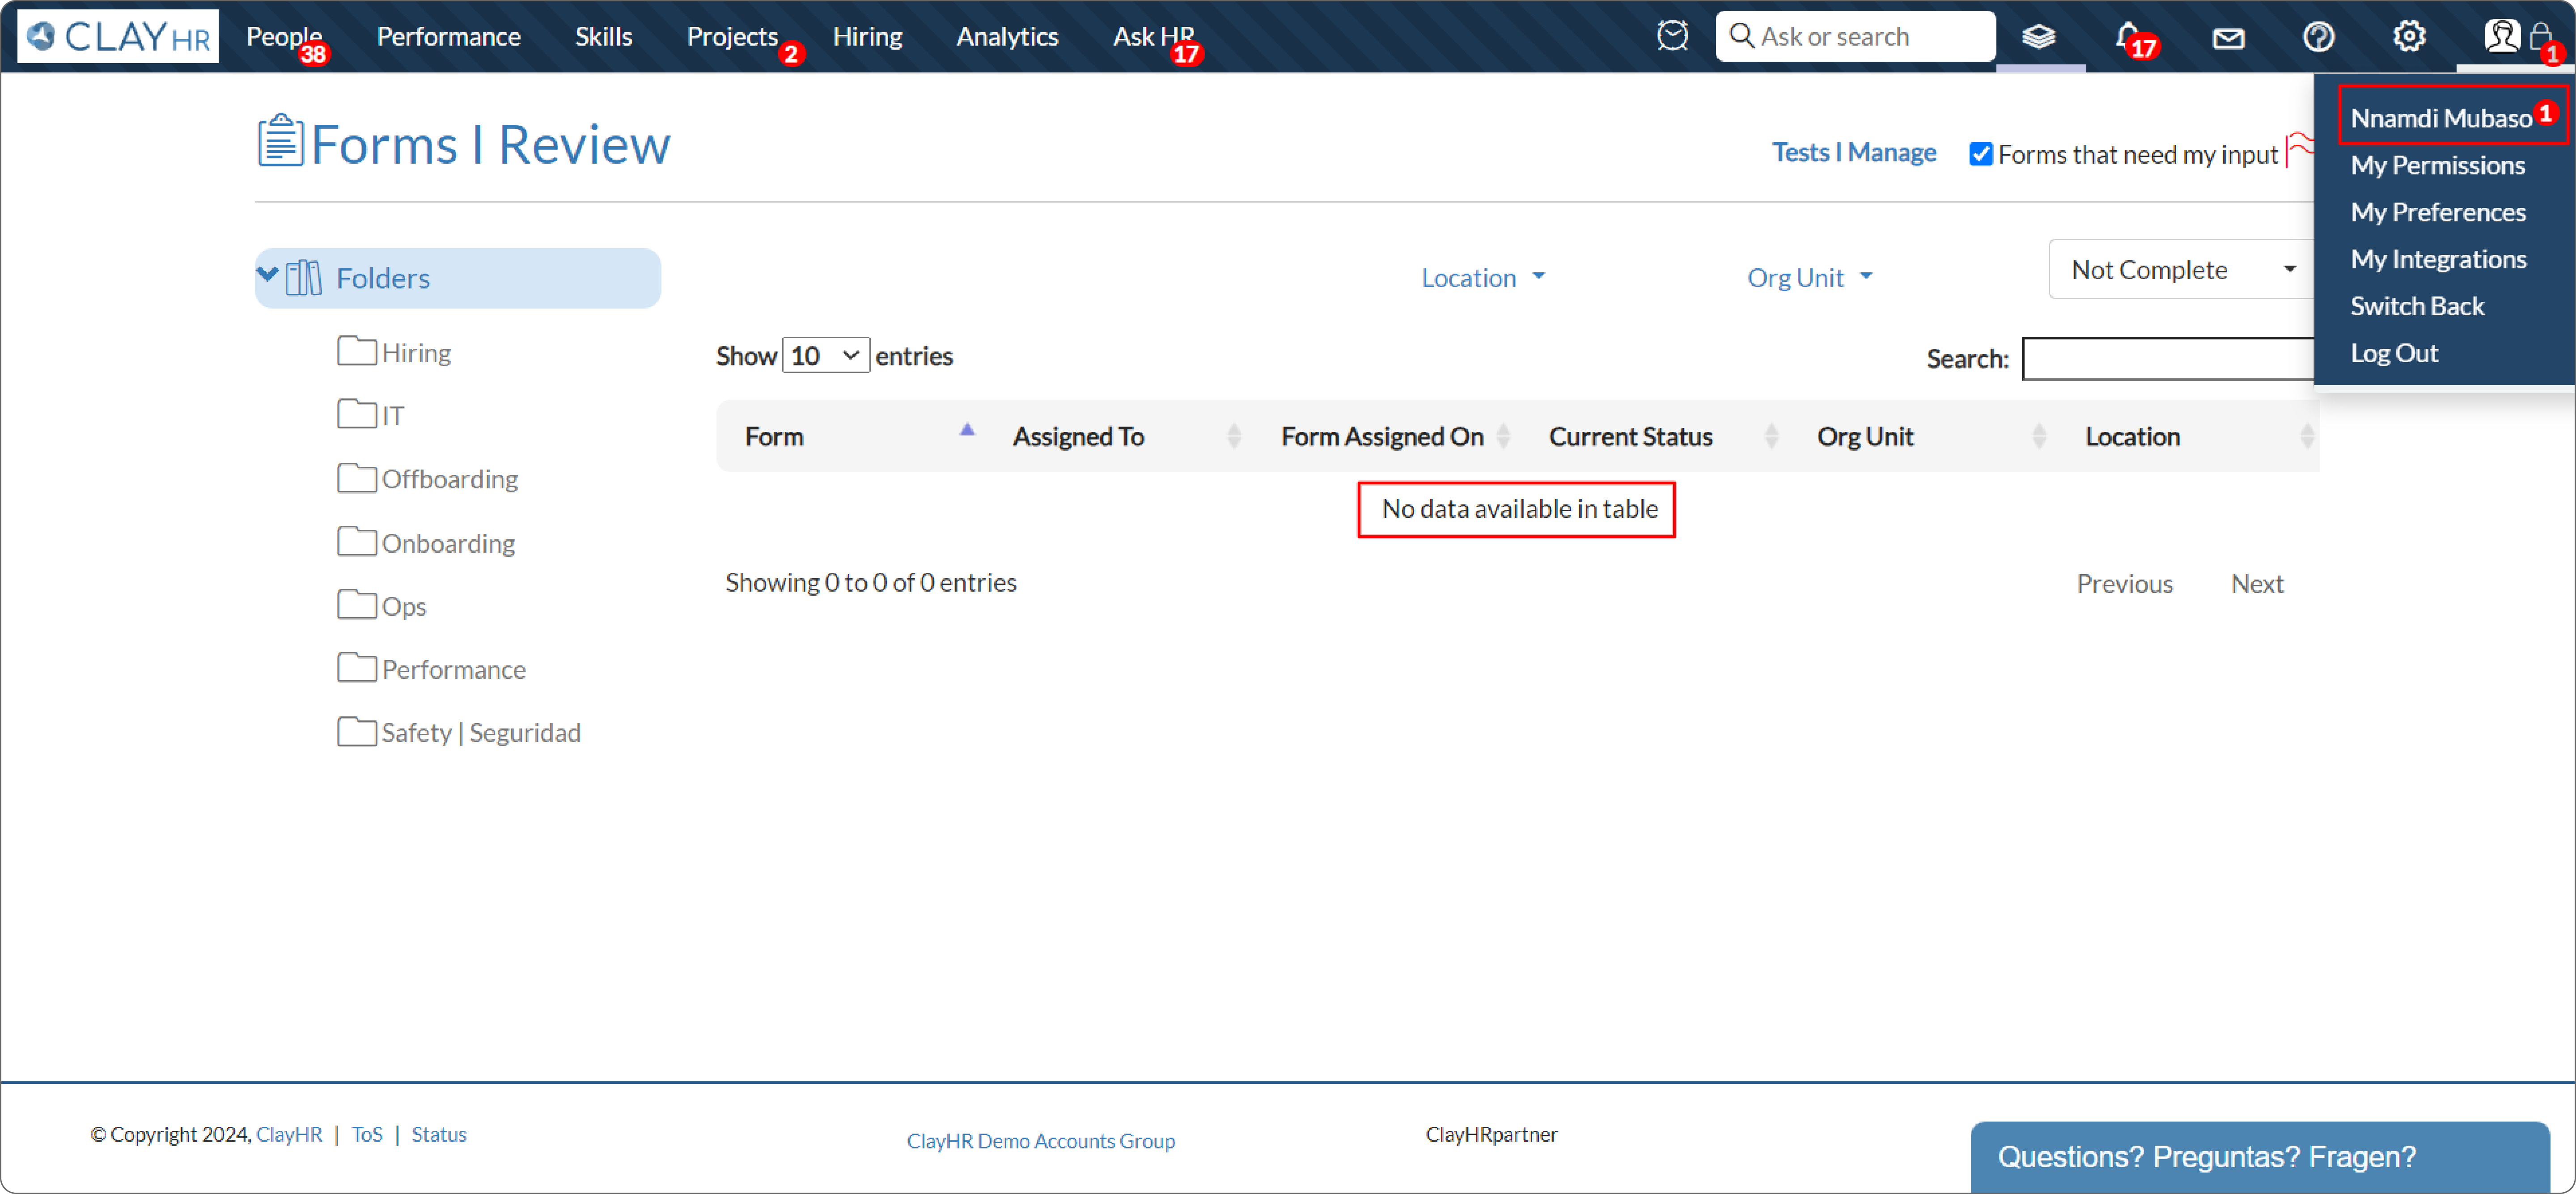
- No further sections are then assigned and sent for completion.
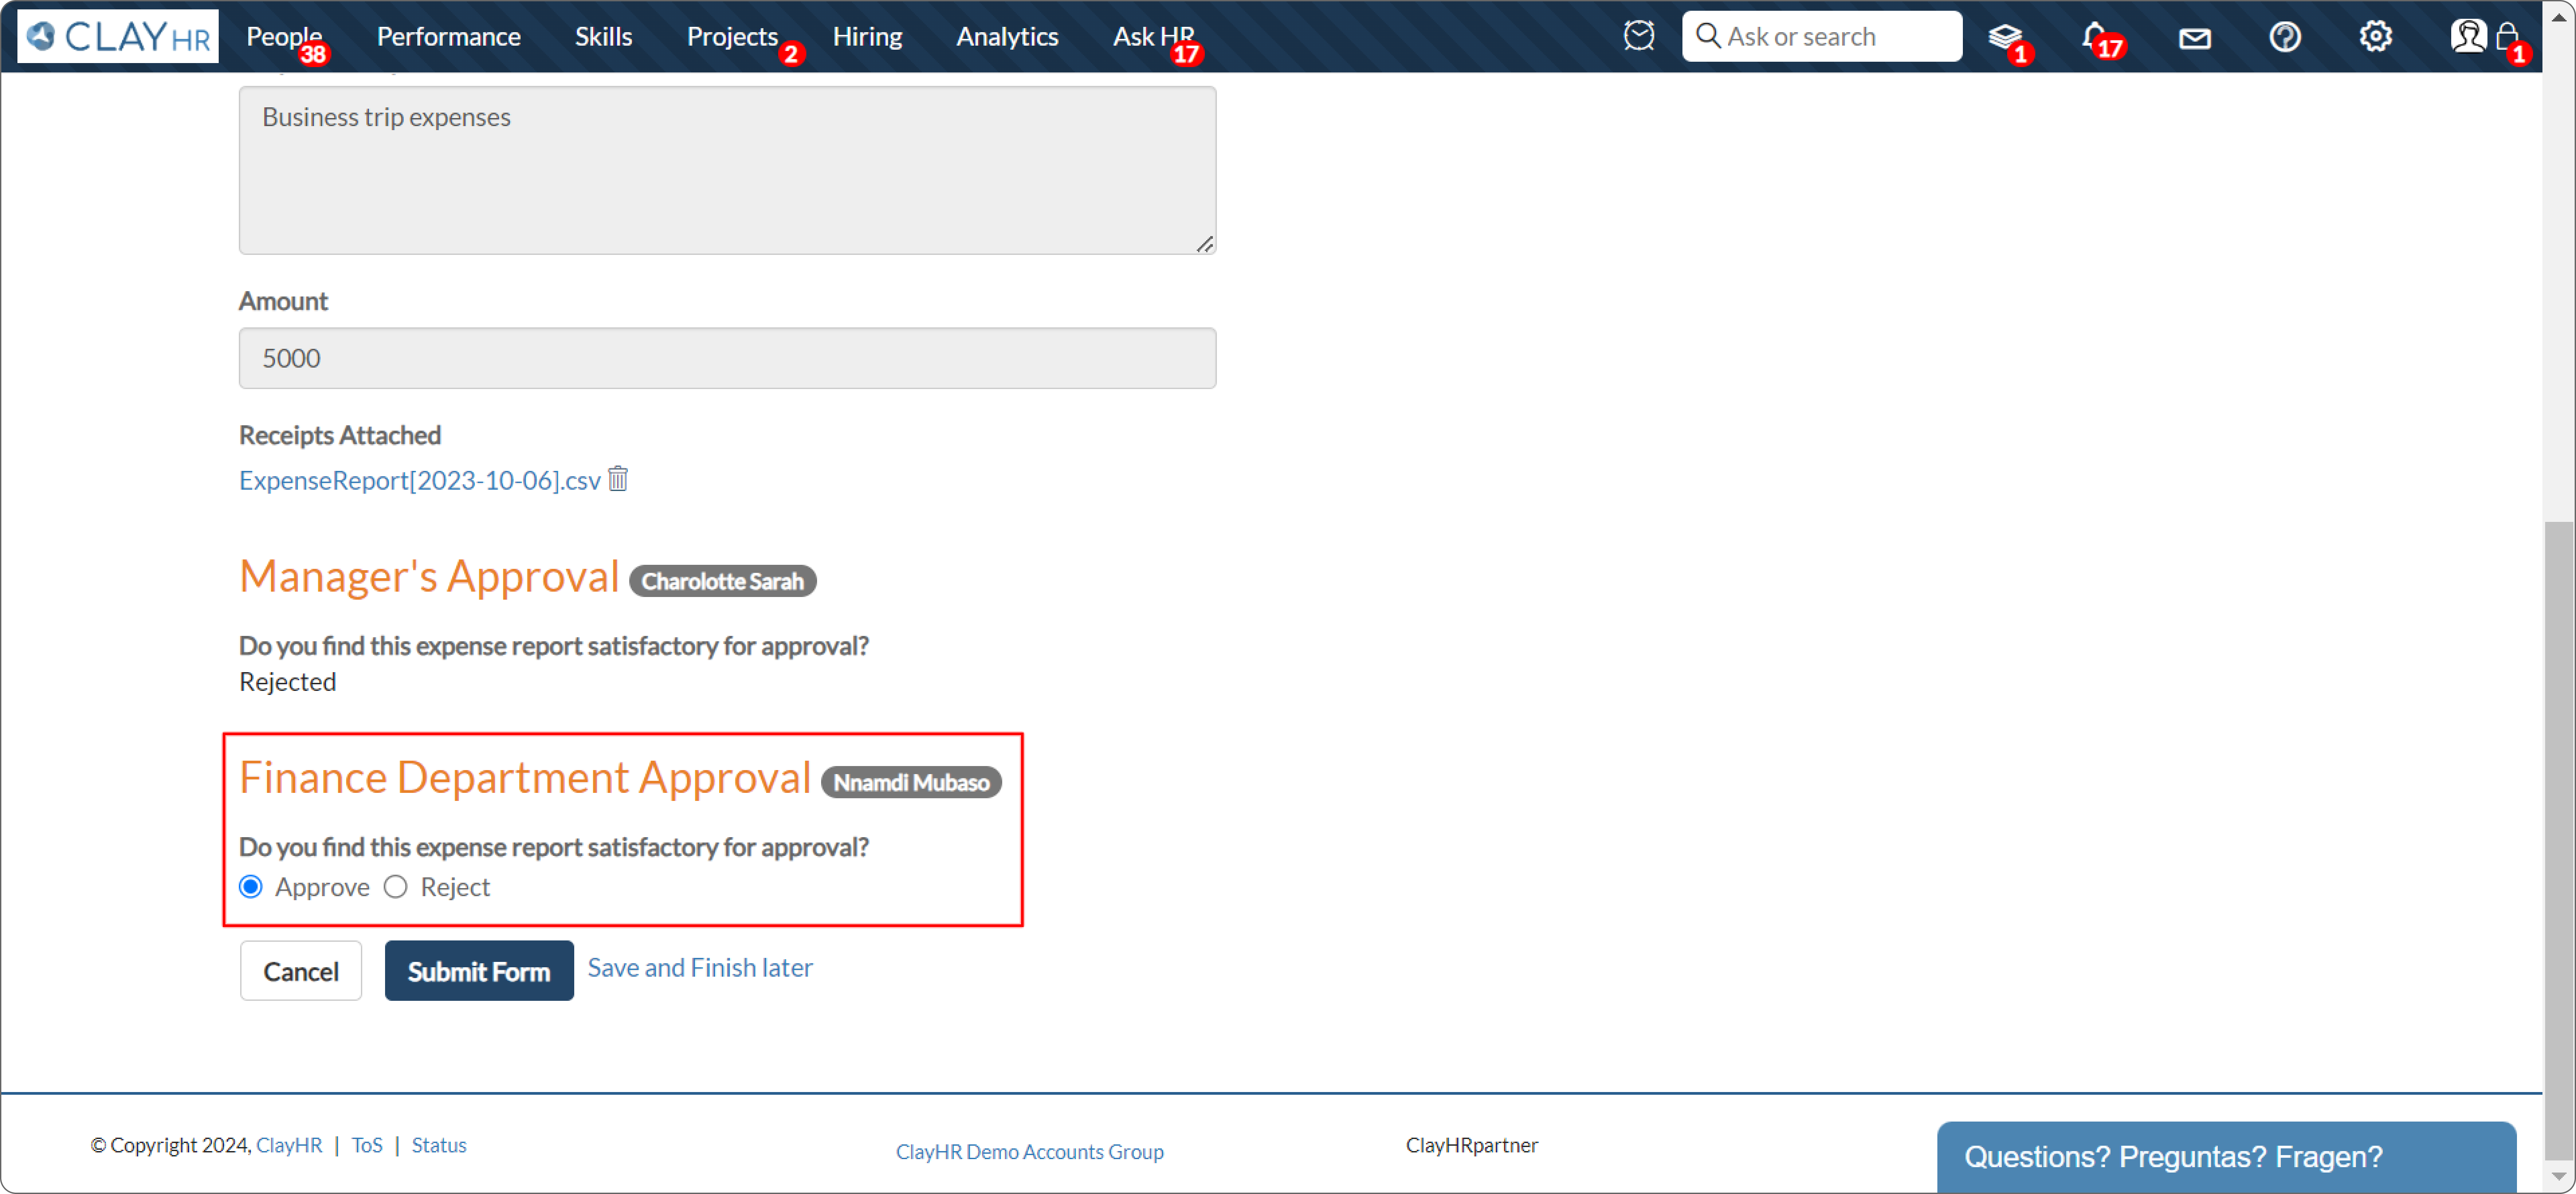
- If the option "Continue the approval flow after the form is rejected" is selected, the remaining sections will be sent for completion irrespective of whether the form is approved or rejected.

- Even after the form is rejected, the next section will be assigned to the next assignee to complete the form.

- Select “Approve” or “Reject” and then click on “Submit Form” to complete the form.


.png)
