
How to Create and Configure App Menu
- Navigate to the “Gear” icon and select “Look & Feel”.

- Choose “App Menus” and click “App Menus” again.
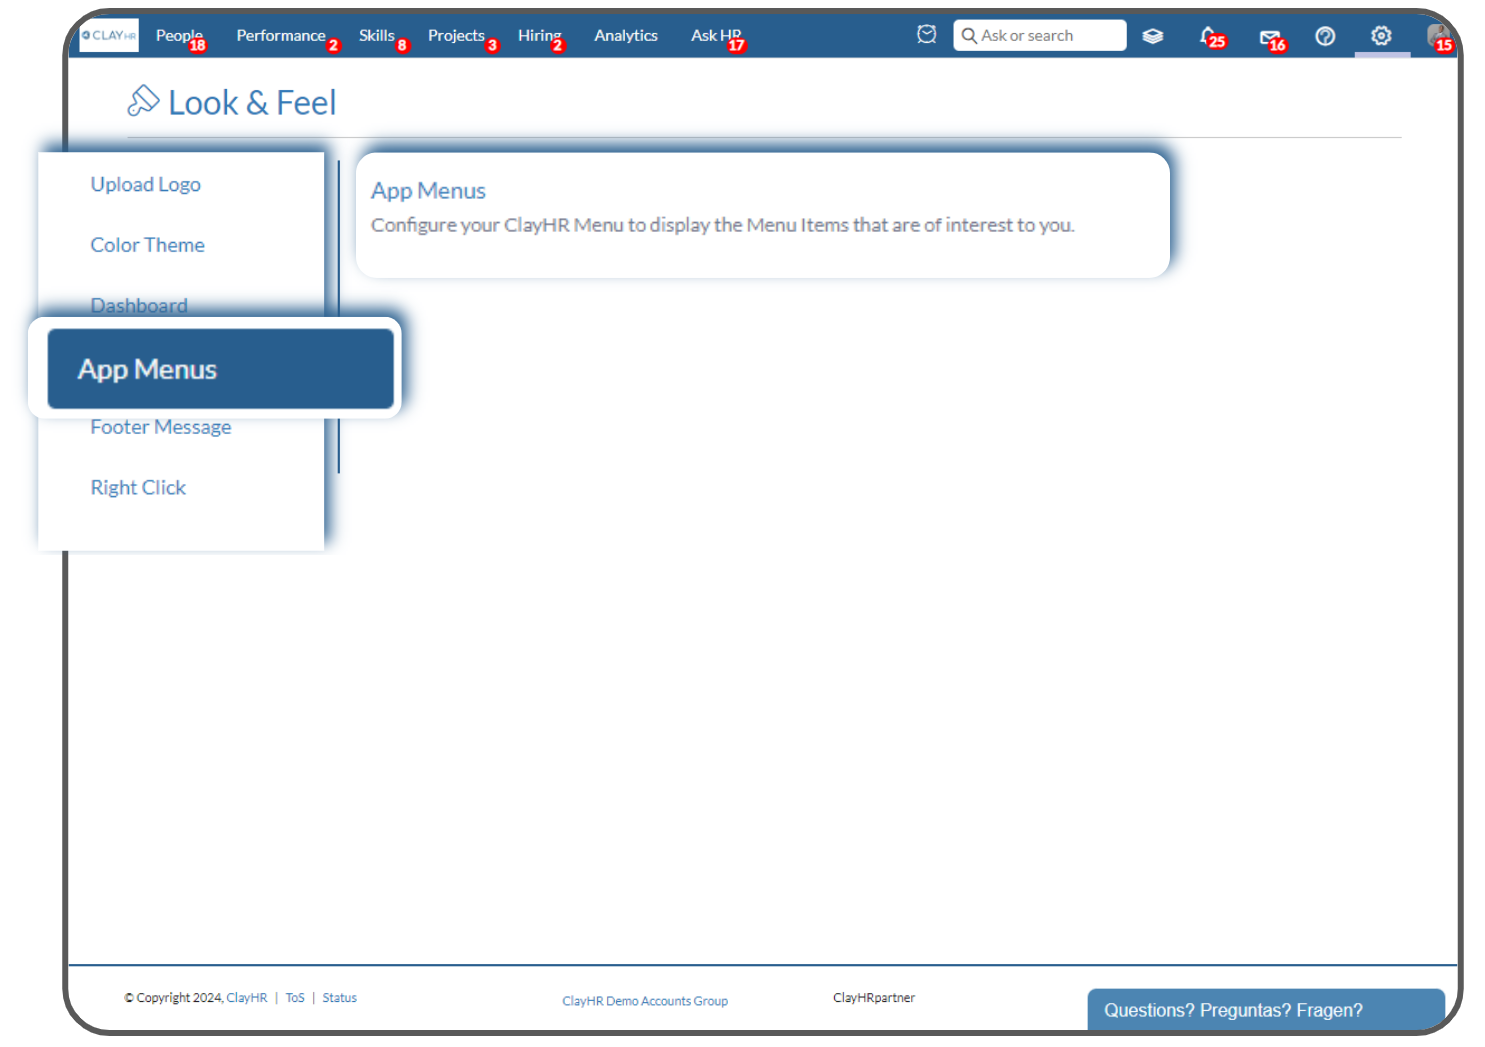
- On the App Menu page, click on “New App Menu”.
Note: For activating modules, navigate to Setup > Your Account and Billing Information > Modules & Add-Ons.

- On the Menu Configuration page, specify the name of the app menu (e.g., “App Menu for Kenya”) and toggle modules on or off as required.
Note: Multiple app menus can be created based on eg. roles, locations, etc, and assigned to different user sets, giving access to specific modules only.
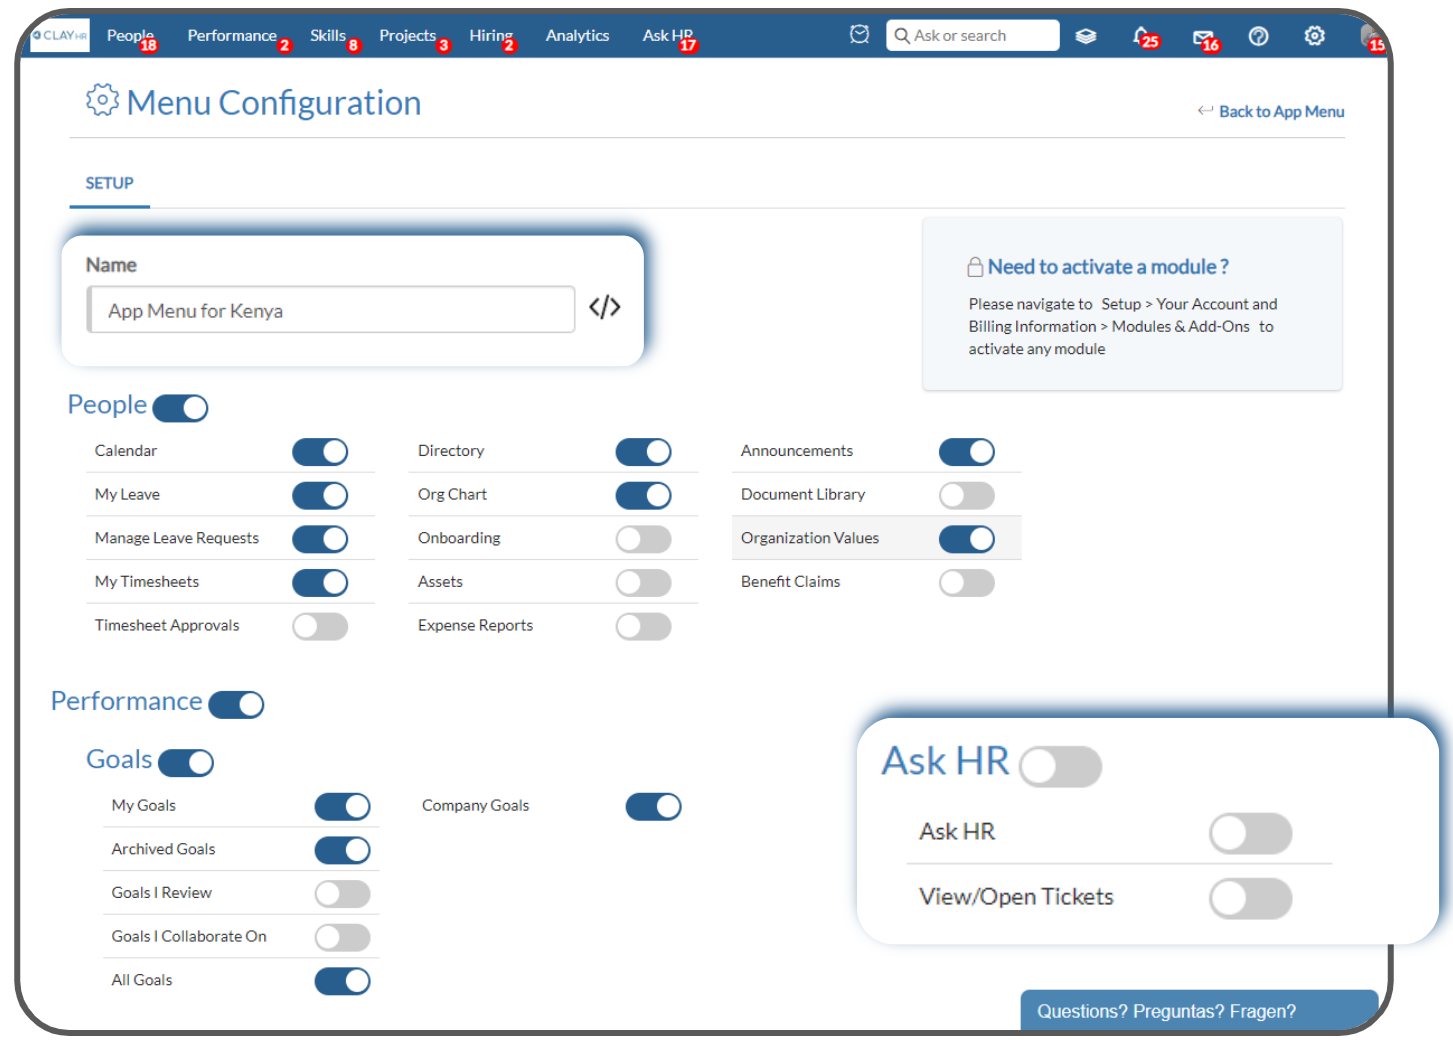
- After configuring, click on the “Save Configuration” button.
Note: To deactivate specific modules (e.g., “Ask HR”), toggle them off and save the configuration to ensure users do not see those modules.
How to Assign the App Menus
- Once the configuration is saved, a new app menu will appear on the app menu homepage. Click on the newly created app menu.
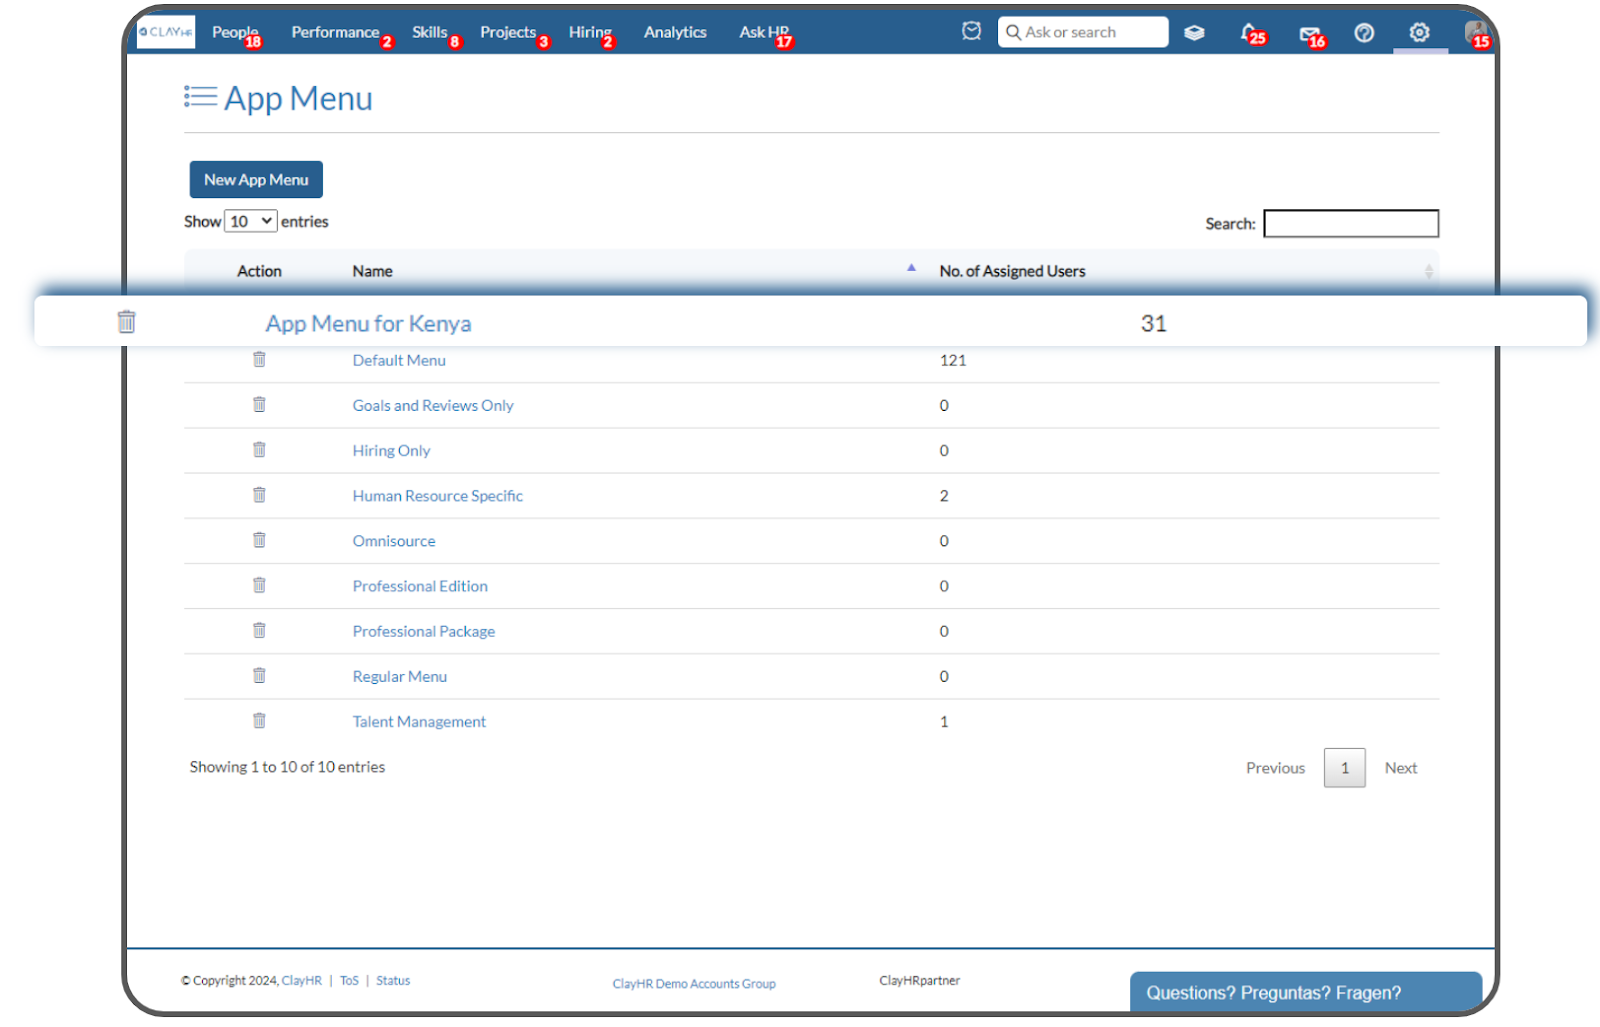
- On the menu configuration page, navigate to the “Assignment” tab.

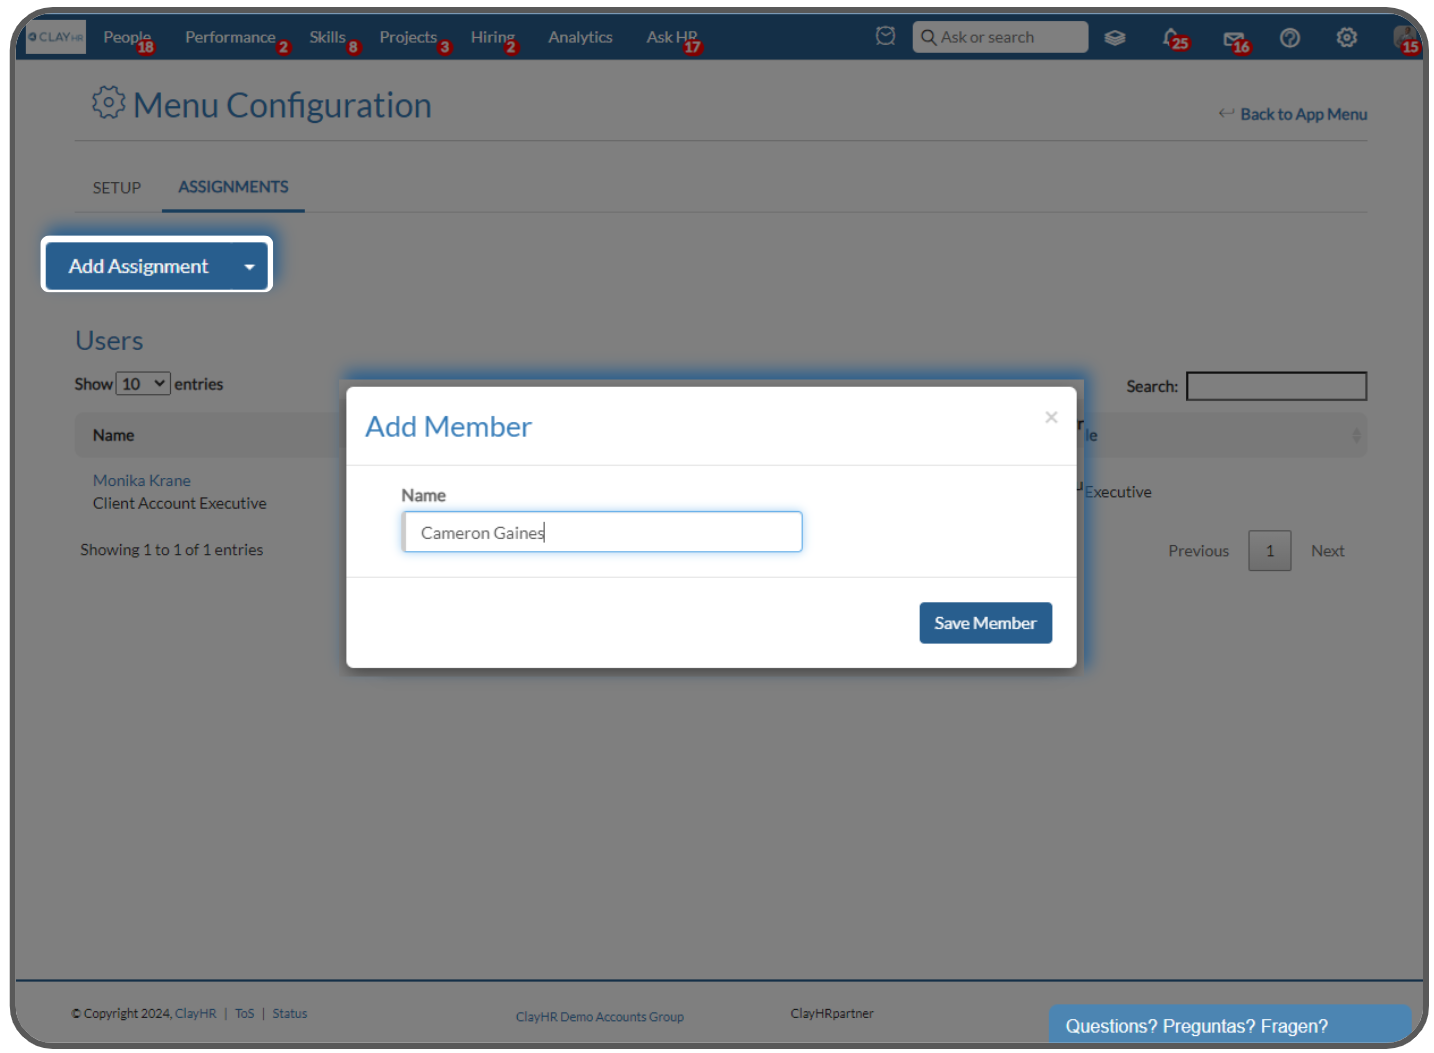
- To assign the menu to individual users:
a. Click on “Add Assignment,” which will open a new pop-up.
b. Enter the name of the user you wish to assign the app menu to and click on “Save Member.”
- To assign the menu to users in bulk:
a. Follow the steps outlined in the following link for bulk user updates Bulk User Update.


.png)
