How to Import Custom Field Values
This feature is accessible in the custom fields with location: User Record and Candidate
1. Go to Gear icon, select Organization setup from the drop-down list.

2. Search for the custom field in which you want to import data.

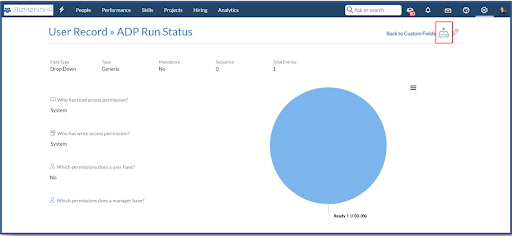
3. On the custom field view page, click on the icon at the top right corner of the page.
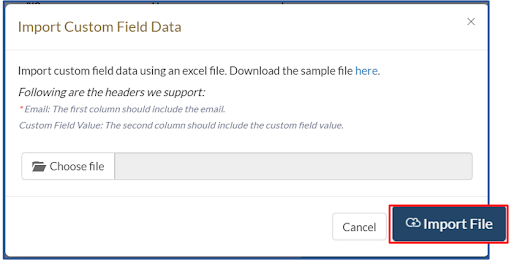
4. Data of the excel file should be in plain text format.

5. Import the excel file with two columns, first with Email and second with CustomField Value.
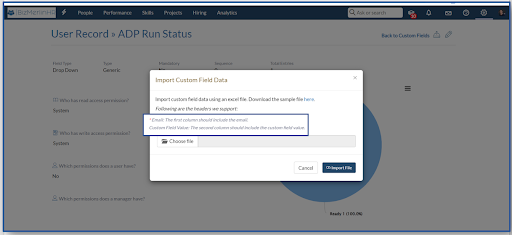
6. Click on the “Import file” button, the data will be imported.