What are Candidate Funnels?
Candidate Funnels in ClayHR map the journey a candidate follows through your organization’s selection process — from their first application to the final hiring decision.
Funnels provide a clear, visual, and flexible way to track every candidate’s progress, showing the current stage of their application at a glance.
A simple example of a funnel might look like this:
New → 1st Round → 2nd Round → Offer Sent → Offer Accepted → Hired
The Candidate Funnel Setup Process
Setting up Candidate Funnels in ClayHR involves two key steps:
- Editing the Default Candidate Funnel or Customizing from Scratch — Define or adjust the stages a candidate will go through in your recruitment process.
- Linking the Candidate Funnel to a Position — Assign the appropriate funnel to each position so candidates follow the right sequence of stages.
Since different positions or departments may follow distinct hiring processes, linking each position to its appropriate funnel ensures that every candidate moves through a selection flow tailored to that role — keeping your hiring process organized, consistent, and efficient.
Step 1: Configure the Candidate Funnel
ClayHR includes a Default Funnel that you can use immediately or customize to match your organization’s hiring workflow.
To Configure:
- Go to the Setup Menu (⚙️) and click Hiring to open the Hiring Configuration page.
- Select Candidate Funnels.
- Review the Default Funnel — it includes several standard application stages.
- Customize it as needed:
- Rename the funnel or update its description.
- Add, remove, or rename stages.
- Drag and drop to reorder stages.
- Change colors for better visualization.
- Click New Funnel to create additional funnels for different hiring processes.
Step 2: Link a Funnel to a Position
Once your funnels are configured, link them to specific positions so each candidate follows the correct path.
To Link:
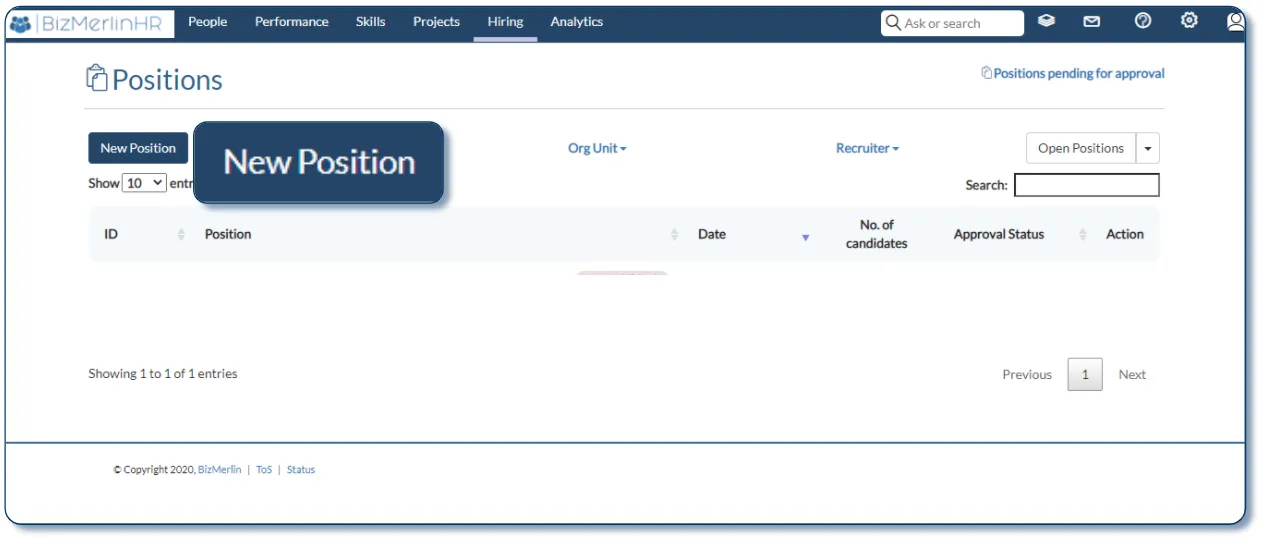
- Navigate to Hiring → Positions.
- Create a new position or open an existing one.
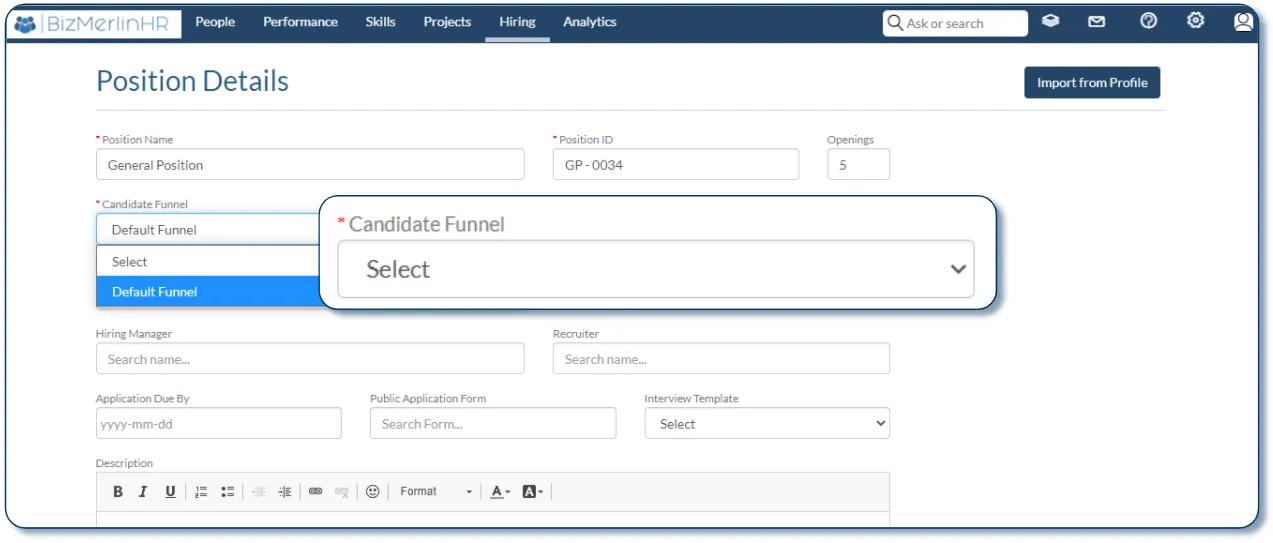
- In the position form, locate the Candidate Funnel field.
- Select the appropriate funnel for this position.
- Click Save.
After saving, go to any candidate’s Profile → Positions tab.
You’ll see the linked funnel displayed there — simply click through the stages as the candidate moves forward in the process.
Note: Once a funnel has been assigned to a position and that position has applicants, the assigned funnel cannot be replaced with another funnel.
However, you can still modify the existing funnel by adding new stages or adjusting stage details.
This restriction ensures the integrity and continuity of candidate data already linked to that position.
When to Create Multiple Funnels
Whether you use one funnel or several depends on how consistent your hiring process is across positions.
- Single Funnel:
Ideal if most roles follow the same review and interview process. - Multiple Funnels:
Recommended when hiring processes differ by role or department.
For example:- A Technical Funnel might include a Technical Interview stage.
- A Non-Technical Funnel might skip that step or include a Panel Discussion stage instead.
Creating multiple funnels helps tailor the experience to each position while keeping the overall process structured and efficient.
Advanced Features
Candidate Funnels in ClayHR go beyond simple tracking. Several advanced capabilities help you automate actions, manage visibility, and control data flow across the hiring process:
- Funnel Automations:
Automate actions when candidates move through stages — such as sending emails, triggering workflows, or creating user records.
Learn more in the dedicated article: What Are Funnel Automations - Internal Code (at Stage Level):
Each stage within a funnel can have its own Internal Code.
This allows for easier mapping and integration with third-party tools or custom reports, ensuring consistent data handling across systems. - Hiring Manager Access Options:
Control which Hiring Managers or team members can view or update candidates at specific stages. This allows fine-tuned permission settings and maintains confidentiality when needed. - Application Stage Status Shared with Candidates:
Decide which stages are visible to candidates through their applicant portal. This helps maintain transparency for candidates while keeping internal review stages private.
These advanced features enhance automation, collaboration, and control — empowering organizations to manage even complex recruitment workflows with precision.
Best Practices
- Keep naming intuitive:
Use clear and descriptive stage names (e.g., “1st Interview,” “HR Review,” “Offer Sent”) to make tracking effortless. - Use consistent color coding:
Apply similar colors across funnels to help your hiring team quickly identify progress (e.g., early stages in blue, offers in green). - Avoid unnecessary complexity:
Limit the number of stages to those that truly reflect decision points in your process. - Tailor funnels by role type:
Different job families may need unique evaluation stages — create dedicated funnels for better alignment. - Review periodically:
Audit your funnels regularly to remove outdated stages or update names as your process evolves.
Key Takeaways
- Candidate Funnels provide a powerful way to visualize and manage candidate progress.
- Configuring and linking funnels are two distinct steps — both are essential for accurate tracking.
- Multiple funnels can be created to reflect different hiring workflows.
- Advanced features like automations, access control, and candidate visibility provide deep flexibility.
- Once a funnel is linked to a position with applicants, it can only be modified — not replaced — to protect existing candidate data.

How do I configure the Candidate Funnel?
1.Please go to the Setup Menu (Gear Icon) and click on Hiring to go to the Hiring Configuration page.

2. On the Hiring Configuration page, please click on “Candidate Funnels”
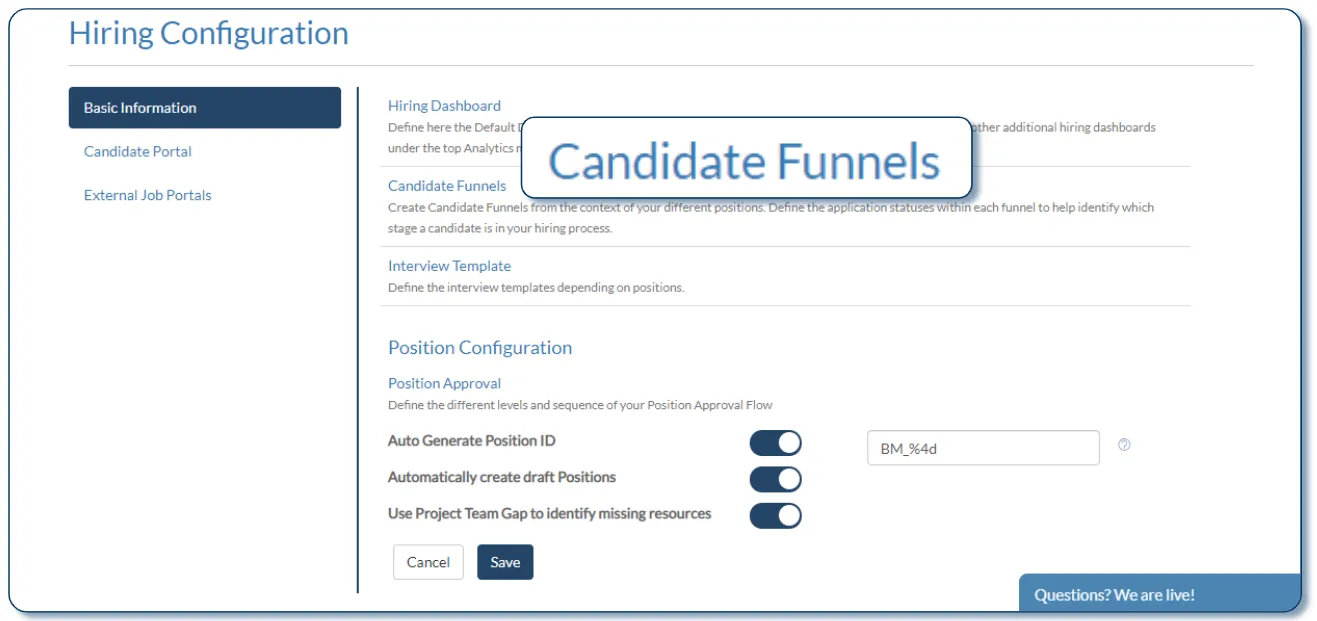
3. The system comes with a Default Funnel.

2. Fill out the details of the Position. Please click on a field called “CandidateFunnel” to select an appropriate funnel for this position.