How to Allow our Domain in the Spam Filter for Azure
How to Allow "clayhr.com" domain and Email Id "notifications@clayhr.com" in Third Party Spam Filter.
Locate the Azure Security Panel Configuration to allow any specific domain in the Anti-Spam Policies.
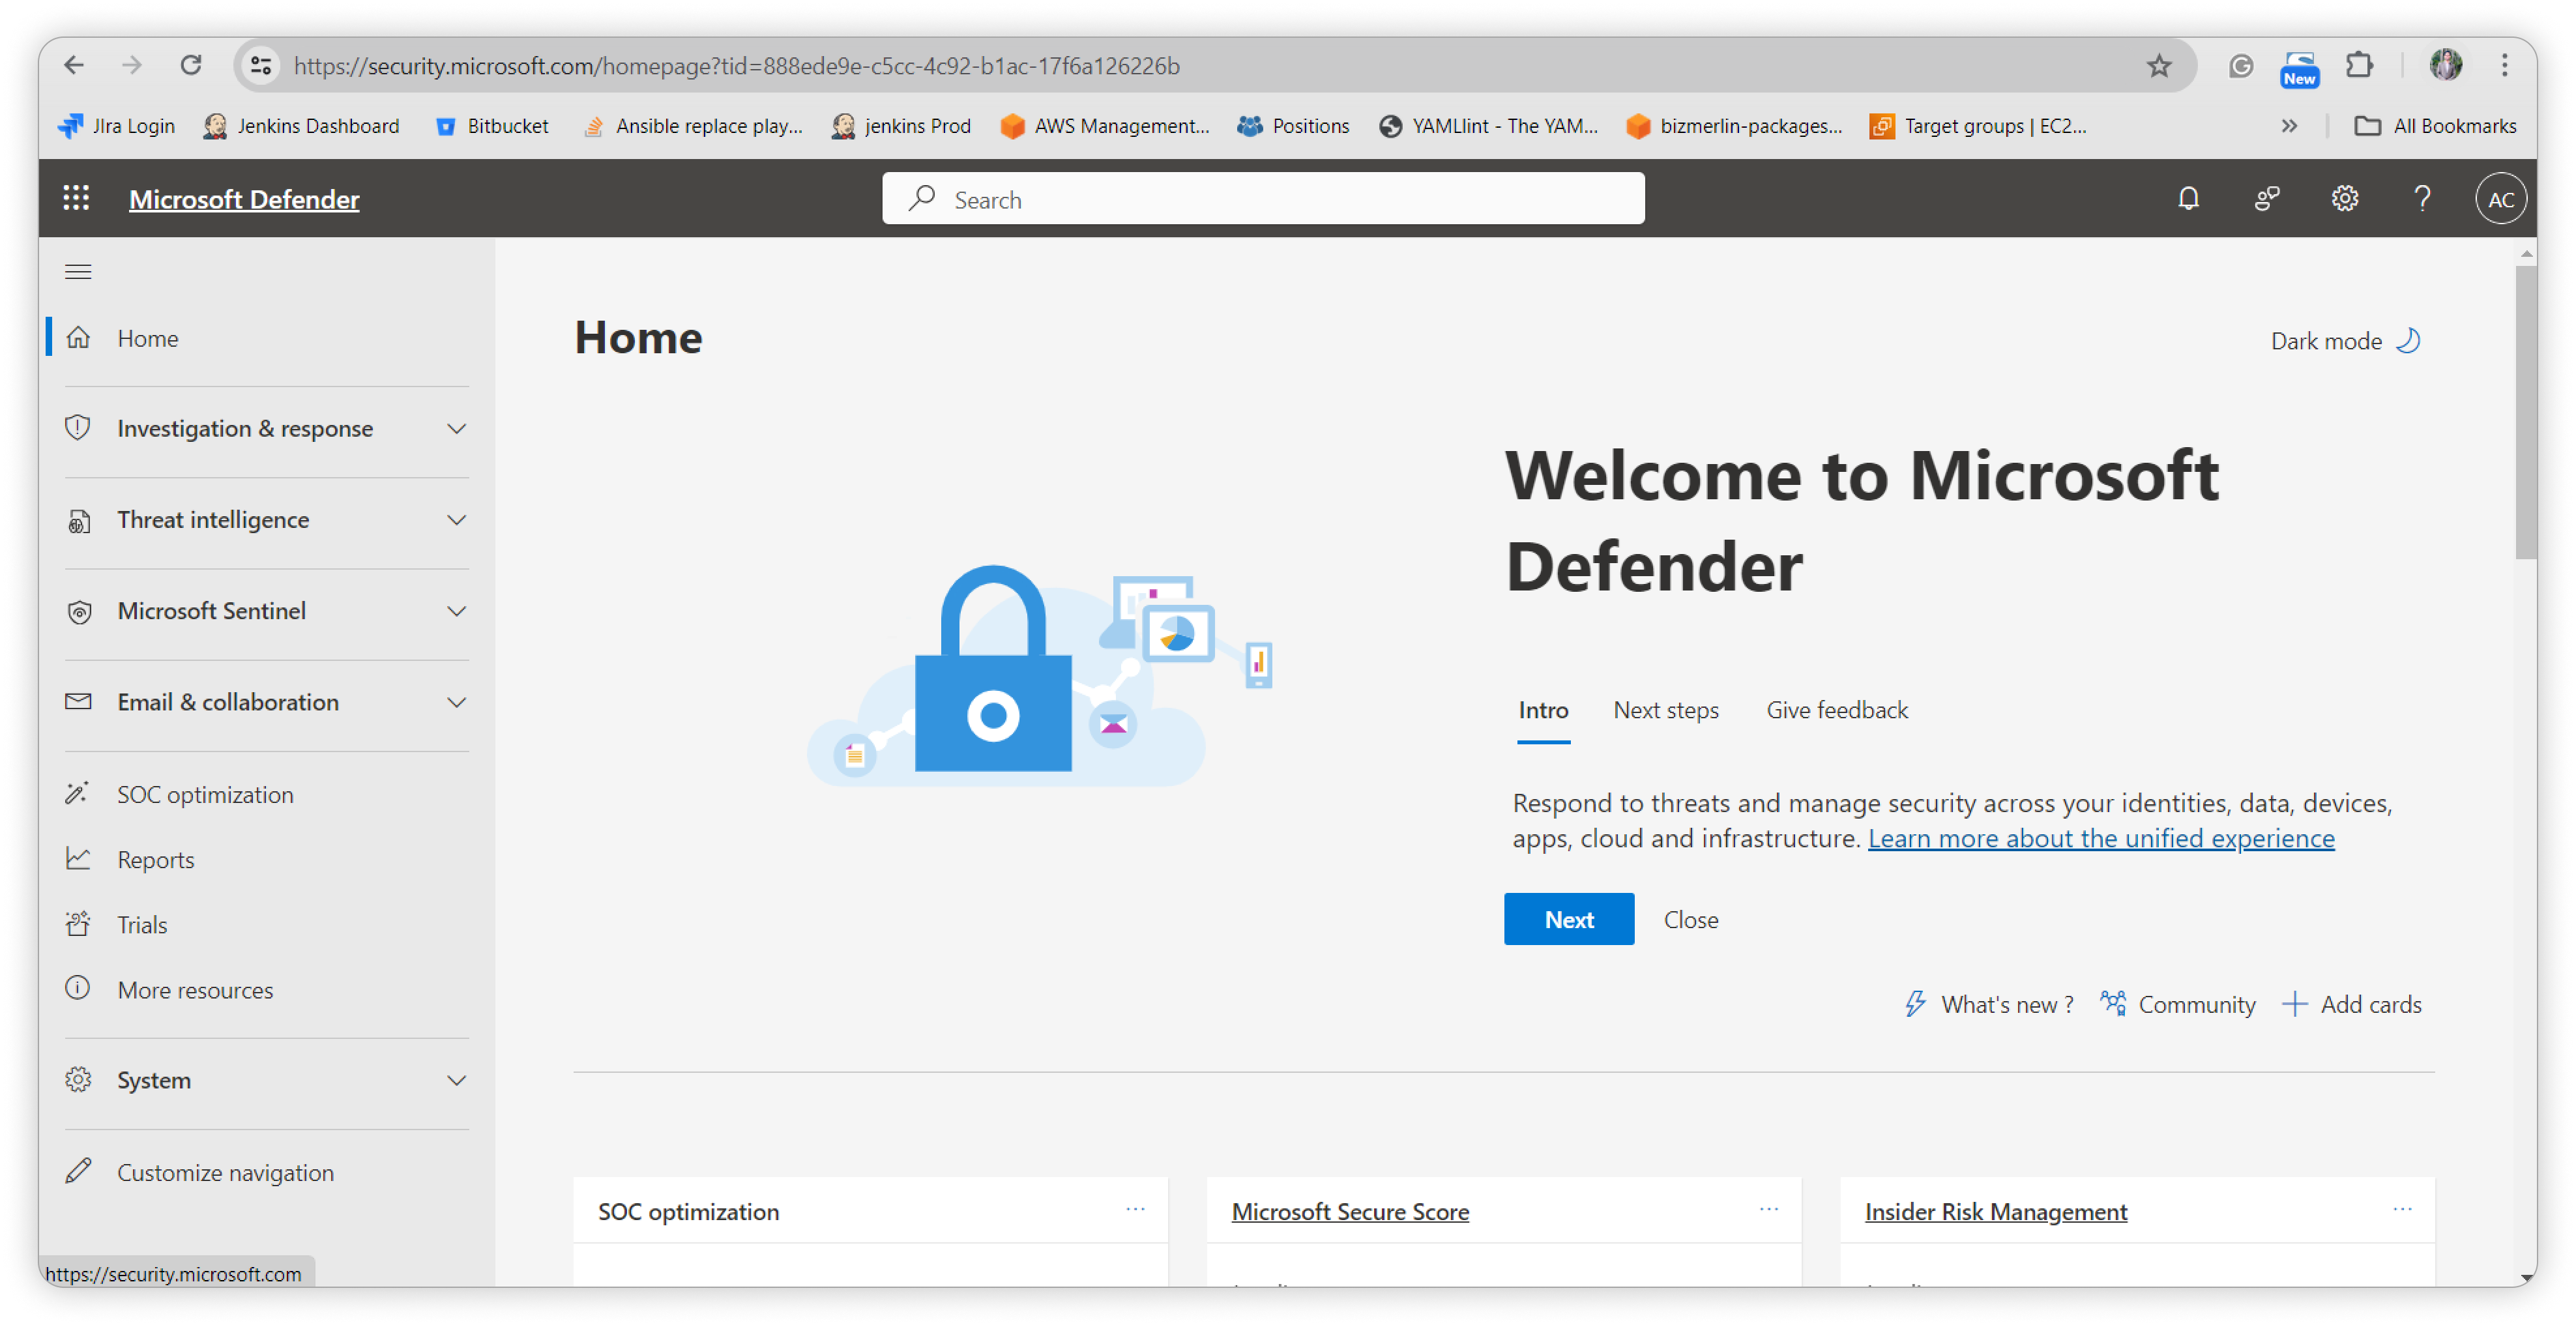
- Click on this URL

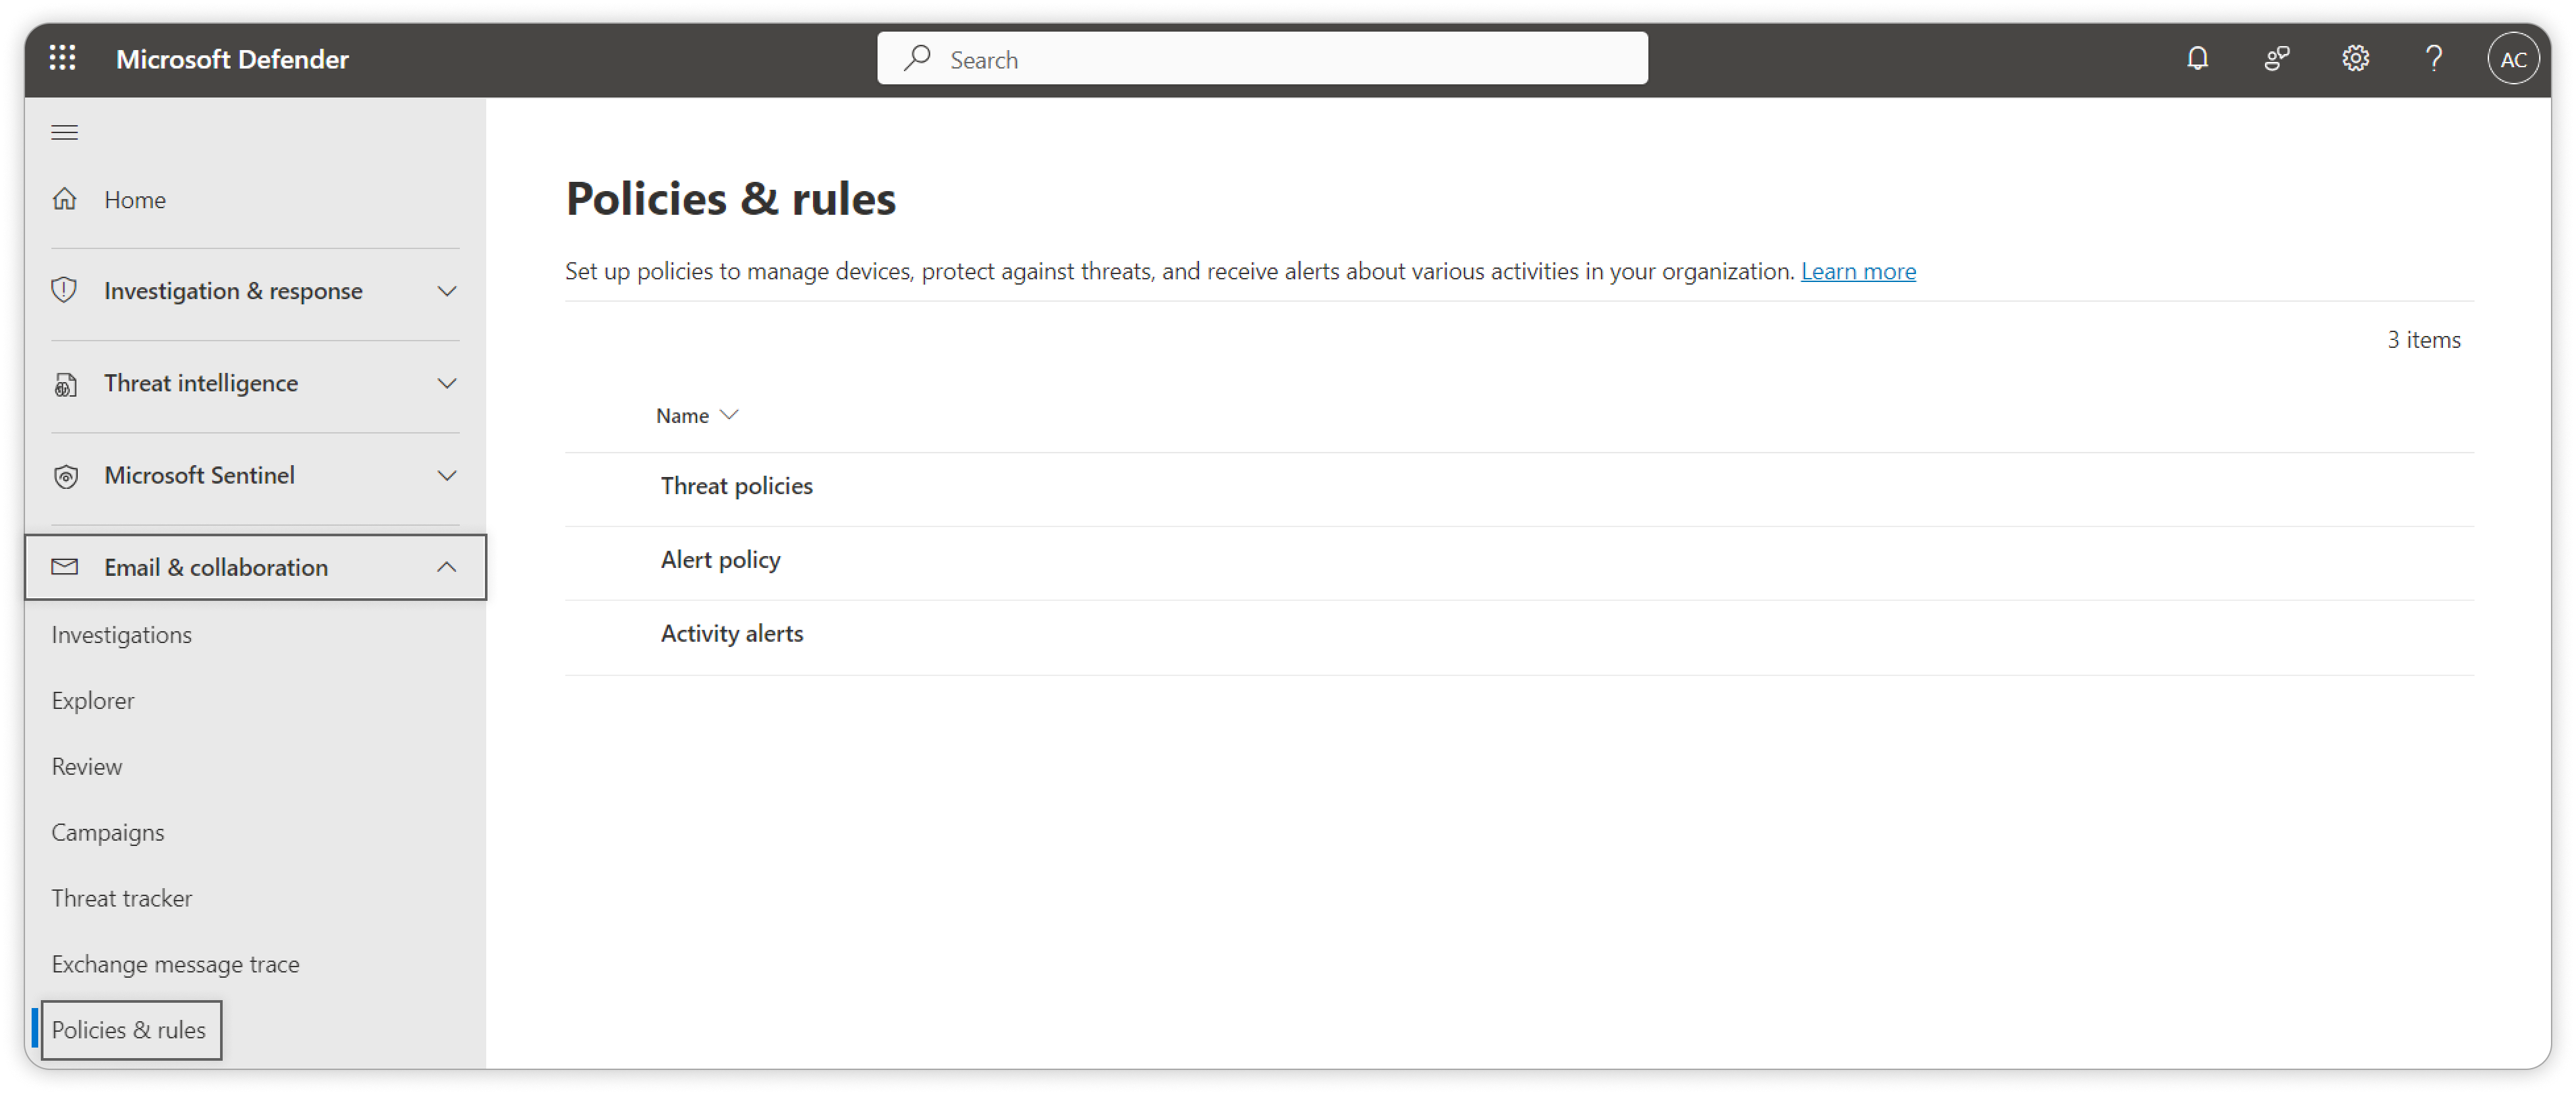
- Navigate to "Email & Collaboration" and click on "Policy & Rules".

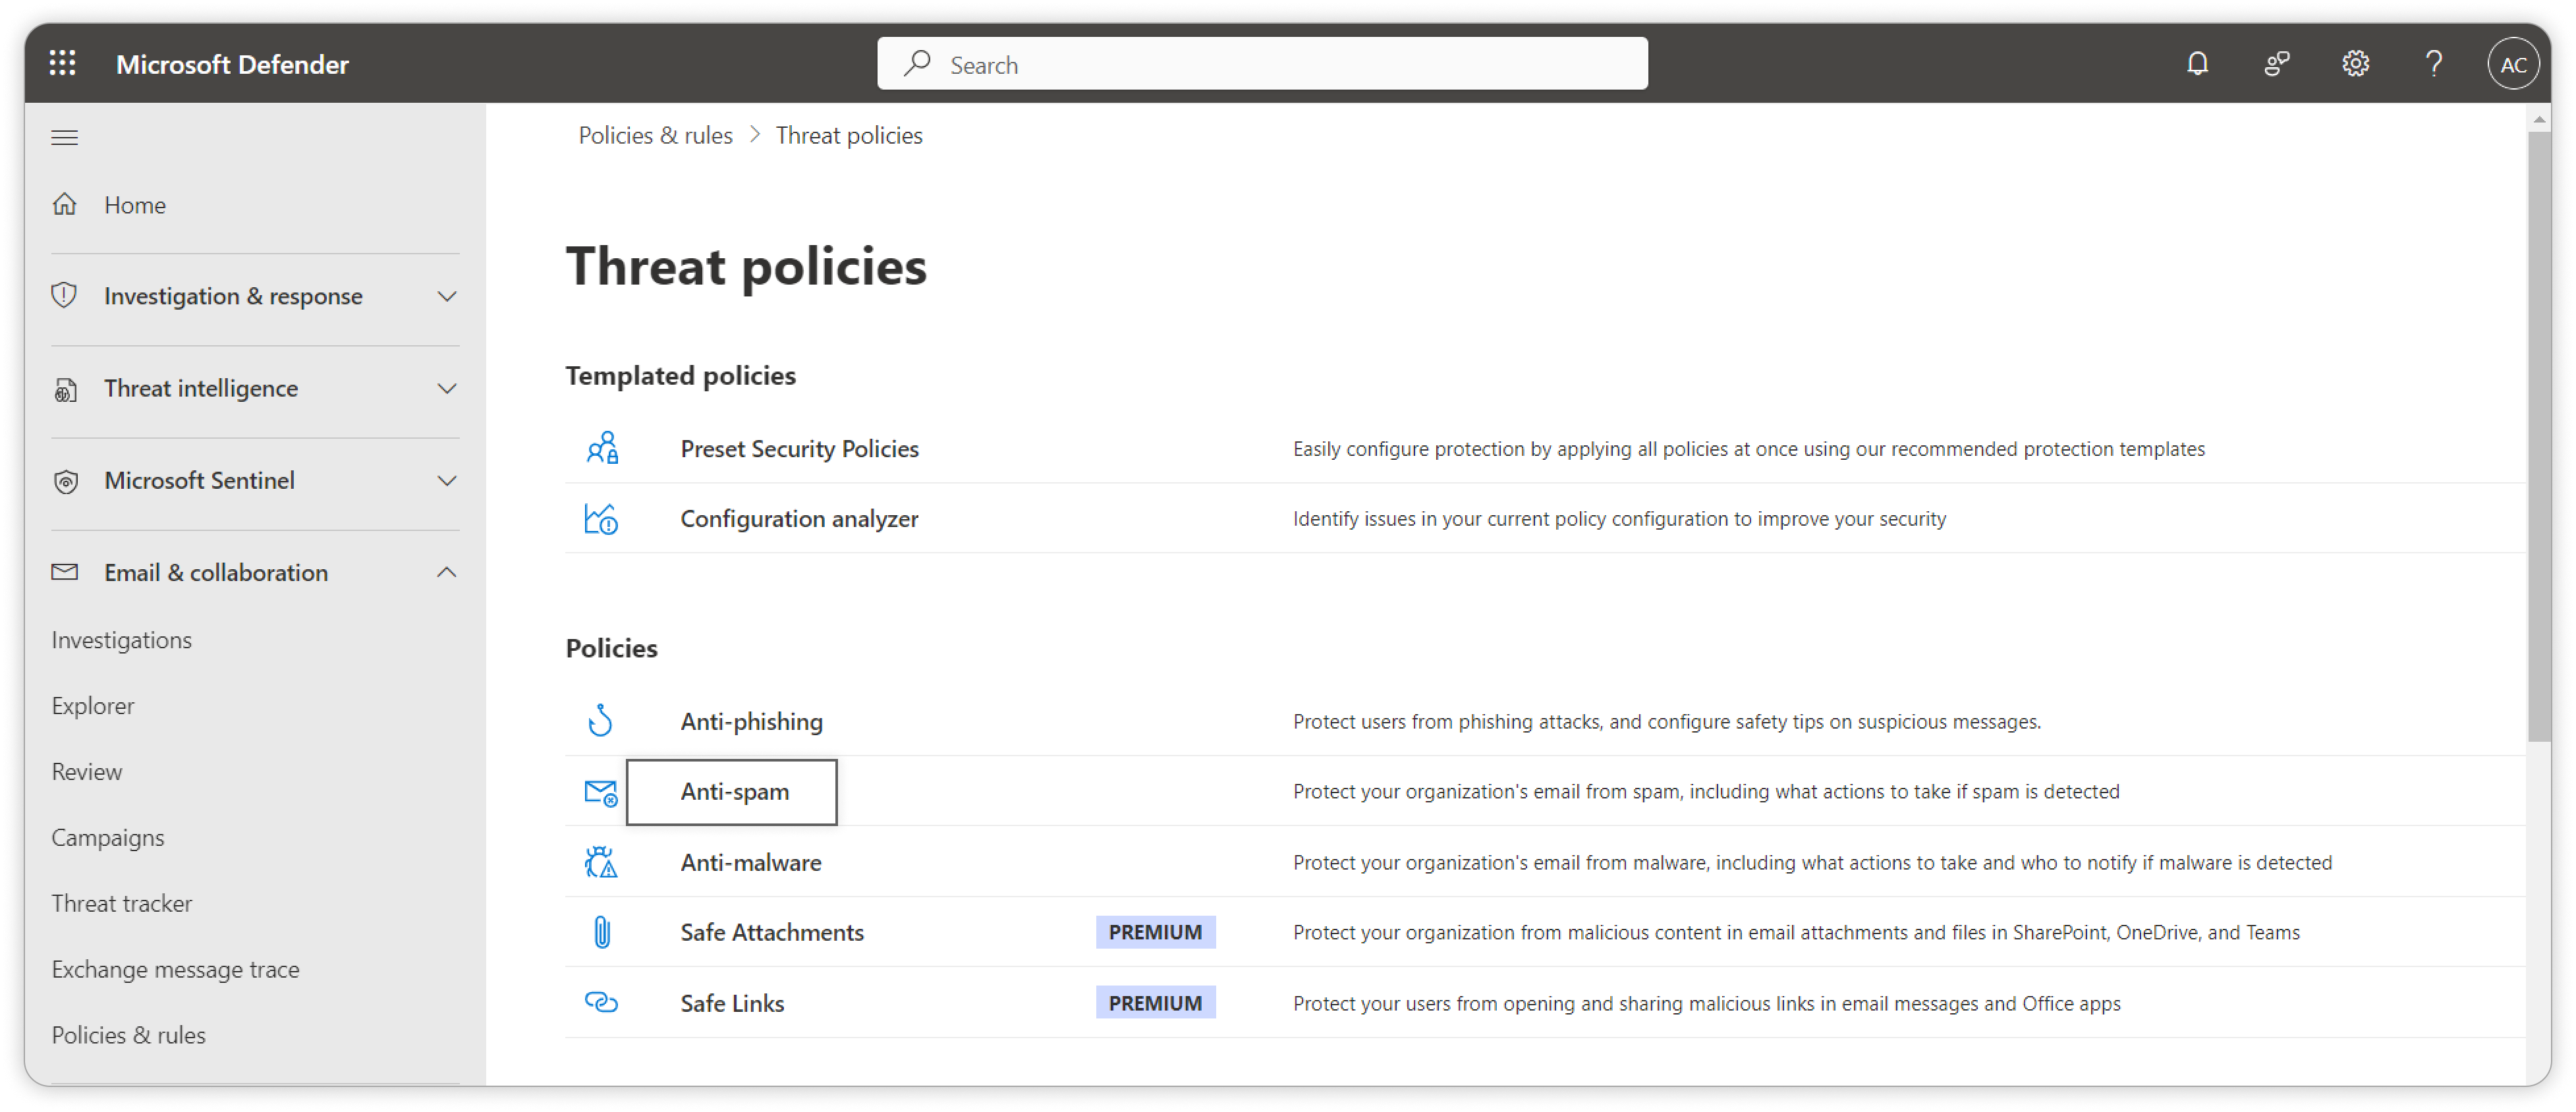
- Locate the "Threat policies" option under the Policies & rules.
- On the "Threat policies" page, click on the "Anti-spam" link under the "Policies" section

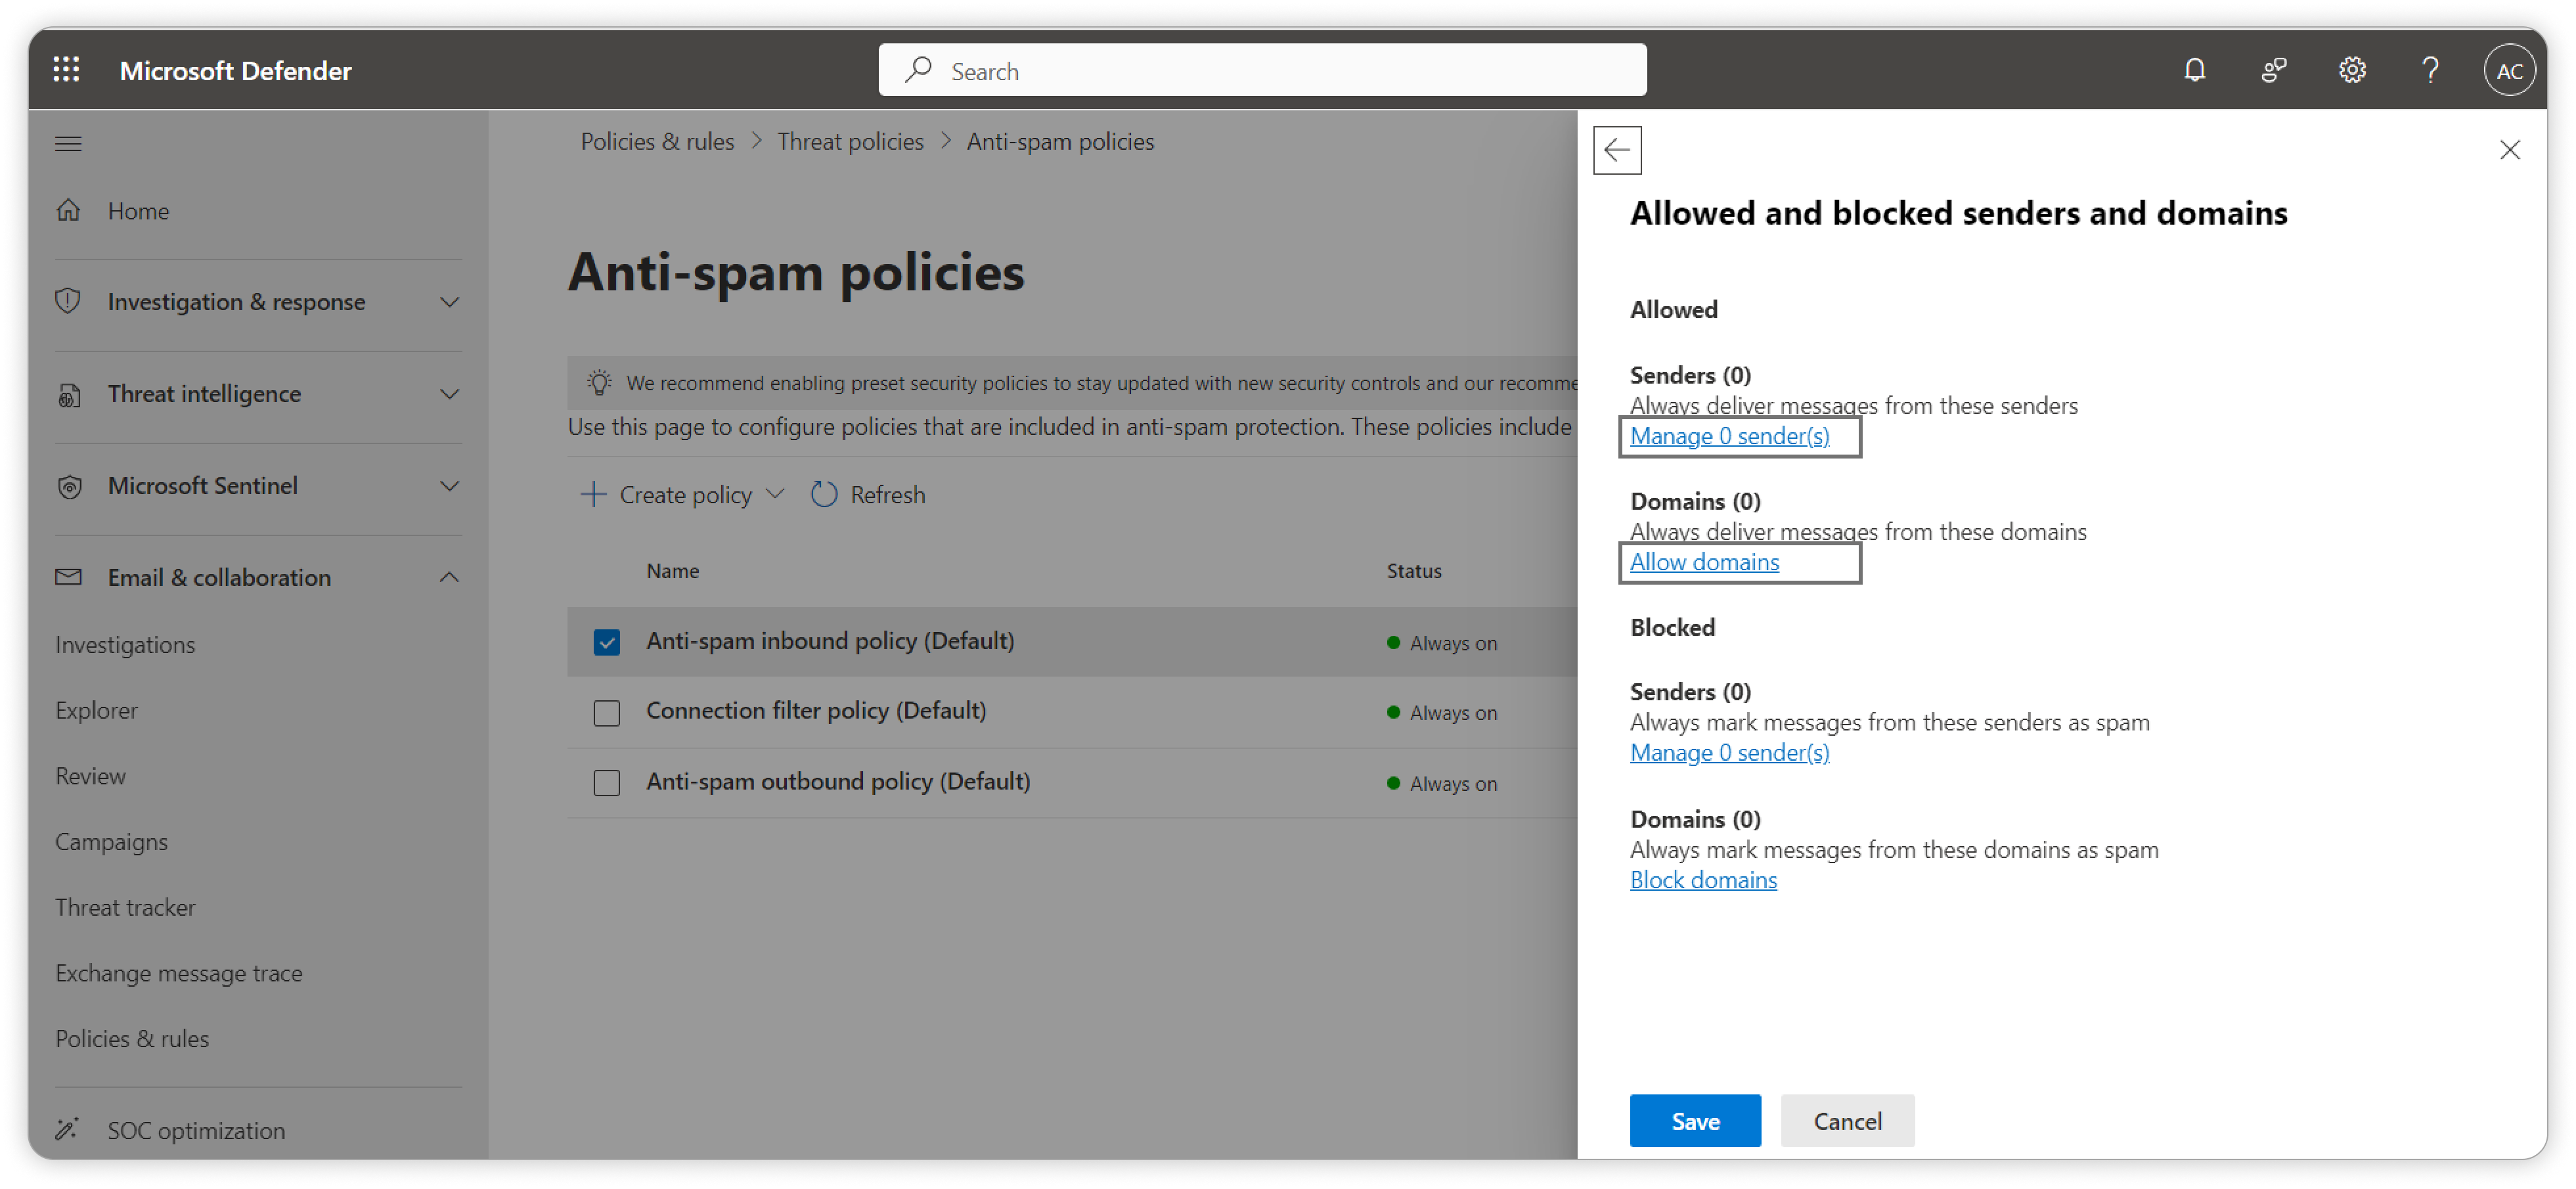
- On the Anti-spam policies page, check the "Anti-spam inbound policy (Default)" and open this option. A modal pop ups on the right side of the page. Scroll down to the bottom of the modal and click on the link "Edit allowed and blocked senders and domains".
To create a "Custom Anti-spam Inbound Policy", please refer to the following steps.

- In the "Allowed and blocked senders and domains" section, to allow the domain, click on the "Domains" link and to allow the Email Id then click on the "Senders" link.


